Backsplash Brilliance: DIY Inspiration: Home updates feel worthwhile when they noticeably improve how a room looks or functions without turning into a bigger project than you planned.
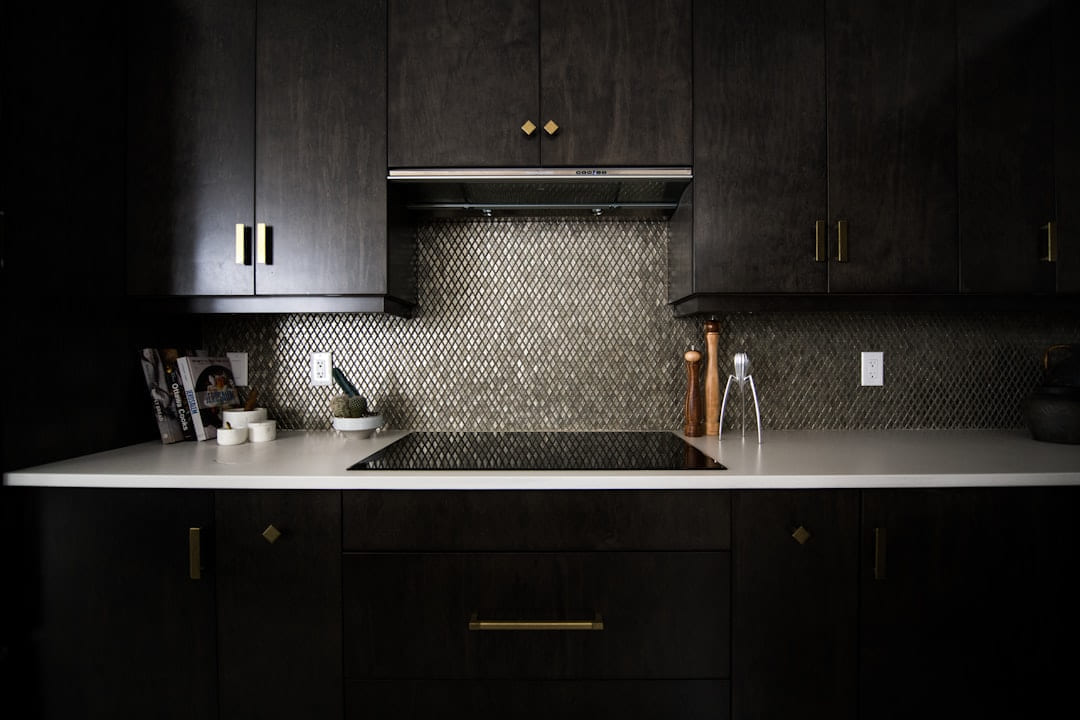
Ceramic Mosaics
Mosaics can look incredibly sophisticated, and surprisingly, you can find decent ceramic options that won’t break the bank. Small, individually placed ceramic tiles can be arranged in a multitude of patterns. Installation takes a little more patience - you’ll need a tile adhesive and grout - but it’s manageable. Prices typically range from $20 - $60 per square foot.
Painted Tile Backsplashes
This is a fantastic option for a really unique, custom look. You’ll need to start with existing tiles (often inexpensive ceramic ones) and apply several coats of paint designed for tile. Using the right primer is key to ensuring the paint adheres properly and doesn’t chip easily. Don’t underestimate the time commitment - this takes multiple coats and drying times. Costs are minimal - mostly the cost of paint and primer, roughly $30 - $80 for a small to medium project. Let’s ballpark these costs. A small backsplash (36” x 36”) could run you $60 - $180 using peel-and-stick, $80 - $240 with ceramic mosaics, and $40 - $120 for a painted option.
Skill Level & Design Ideas
Finding the Right Fit for You A manageable upgrade usually beats a perfect plan that never gets finished.
Backsplash Projects Vary Dramatically Difficulty
If you’re new to DIY, start with something simple. Geometric patterns using small square or rectangular tiles are a great place to begin. A classic subway tile layout, laid horizontally or vertically, is also incredibly forgiving and looks fantastic. These projects typically involve straight cuts and simple adhesive application. Visual examples can easily be found on Pinterest and Instagram - search for “easy subway tile backsplash” for inspiration. Now you can experiment with herringbone patterns - they look fantastic but require a bit more precision when cutting the tiles. Incorporating small accent tiles (like a contrasting color or texture) adds visual interest without drastically increasing the complexity. Think about adding a thin border of a different tile around the perimeter of your backsplash. This is where you can really unleash your inner designer. Complex geometric designs, using different tile sizes and textures, and even incorporating small decorative elements (like small pebbles or glass beads) can create a truly stunning result. This level requires careful planning, precise measurements, and a good understanding of tile cutting techniques.
Material Deep Dive: Picking the Perfect Tile
The tile itself is the star of the show, so choosing the right material is crucial. Here’s a quick rundown: Choose the version that gives you the visual win without expanding the project unnecessarily.
What To Do Next
Use the ideas above to choose one clear next move, test it in your own situation, and keep refining from there. That approach tends to produce better long-term decisions than trying to solve everything at once.
Keep This Practical
Home projects get more satisfying when the next step is realistic for your budget, time, and skill level. Choose one improvement you can finish cleanly instead of starting three at once.
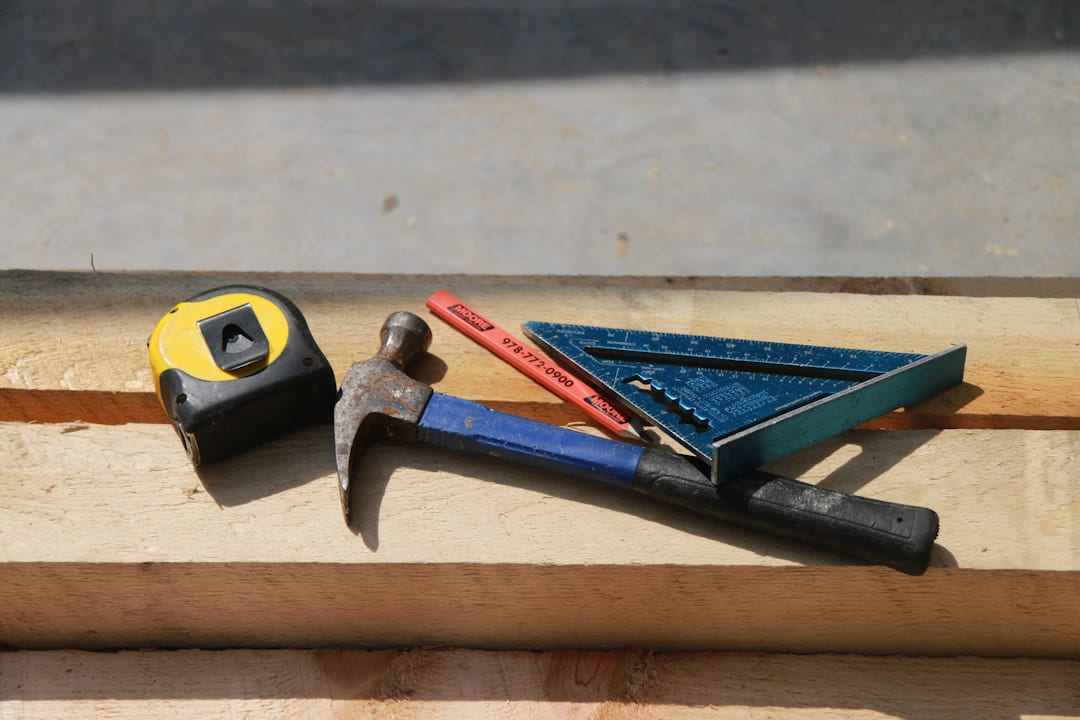
Tools Worth A Look
The picks here are meant to support useful home improvements, not just impulse project shopping.
- ZELCAN Mag Drill Press with 11 Pcs Bits, 1550W Portable Magnetic Drill PressAmazon Echo Dot (newest model) - Vibrant sounding speaker, Designed for Alexa+SR SUN RISE 12 Inch Brushed Gold Shower System, Wall-Mount Adjustable 16-Inch Slide Bar with 6-Function Hand Shower Faucet Included Valve and Trim KitDurmmur 2 Pack Hat Racks for Baseball Caps, Stainless Steel Hat OrganizerDwersty One Way Daytime Window Privacy Film See Out Not in, Window Tint
Some of the links on this page are Amazon affiliate links, which means I may earn a small commission if you make a purchase through them. As an Amazon Associate, I earn from qualifying purchases.
Related ReadingMore from Hammer & Home
Backsplash Dreams: DIY vs. Easy Swaps
DIY vs. Easy Swaps can be easier to approach when you start with a few practical basics.
Backsplash Blues? DIY Fixes You Need
Ideas Troubleshooting - Hammer & Home DIY Backsplash Ideas Troubleshooting: Don’t Let Your Dream Turn into a Disaster So, you’re dreaming of a stunning, custom ba...
Backsplash Bliss: Step-by-Step DIY
Backsplash Bliss: Step-by-Step DIY breaks the project into more practical home-upgrade decisions so you can improve the space without overcomplicating the work.