DIY vs. Easy Swaps can be easier to approach when you start with a few practical basics.
DIY Backsplash Ideas vs. Alternatives: Finding the Perfect Fit for Your Home
DIY vs. Easy Swaps can be easier to approach when you start with a few practical basics.
DIY vs. Easy Swaps can be easier to approach when you start with a few practical basics. A backsplash is more than just a functional element in your kitchen or bathroom - it’s a focal point, a design statement, and a surprisingly impactful way to elevate the entire room. For years, the classic subway tile has reigned supreme, but the world of backsplash options has exploded, offering a dizzying array of styles, materials, and price points. Today, we’re diving deep into the world of DIY backsplash ideas versus exploring alternatives, helping you determine the best approach for your project, your budget, and your personal style. Let’s break down the options and get you started on creating a stunning, durable, and long-lasting space.
Understanding the Costs: Materials & Labor (DIY vs. Easy Swaps)
Let’s get practical. The cost of a backsplash can vary dramatically, and it's crucial to understand what’s included in the price. The figures you’ll typically see quoted - around $8 to $20 per square foot for glass tile and $6 to $14 per square foot for subway tile - include both materials and labor. However, these are just starting points. Several factors can significantly influence the final cost. Complex designs, intricate patterns, or the need for extensive wall preparation (like patching or leveling) will all drive up the price. Similarly, difficult wall conditions - like uneven surfaces or moisture issues - require more time and expertise to address, adding to the labor costs.
Finding a reputable installer is absolutely key. Don’t just go with the cheapest option. A shoddy installation can lead to problems down the road, including cracking tiles, uneven grout lines, and water damage. Start with online directories like “HomeAdvisor” (hypothetical), ask for referrals from friends and neighbors who’ve recently had backsplashes installed, and always, always check online reviews. Look for installers who offer a warranty, guaranteeing their workmanship for a specific period - typically one to two years. A solid warranty provides peace of mind and protects you if something goes wrong.
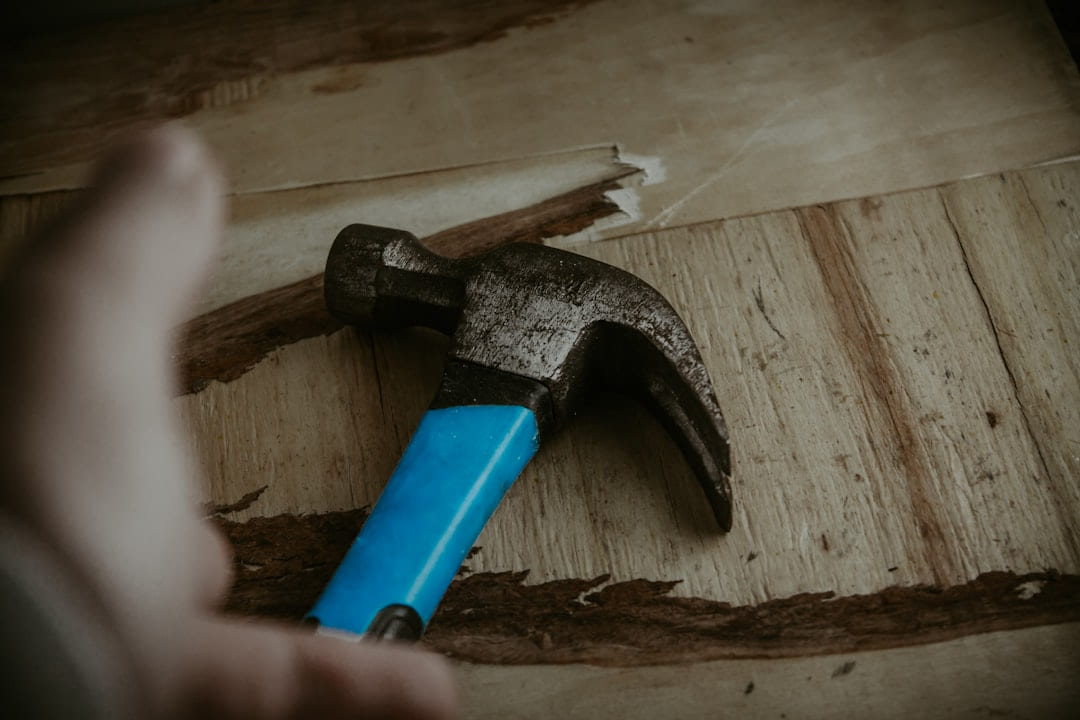
Skill Check & Keeping it Looking Good
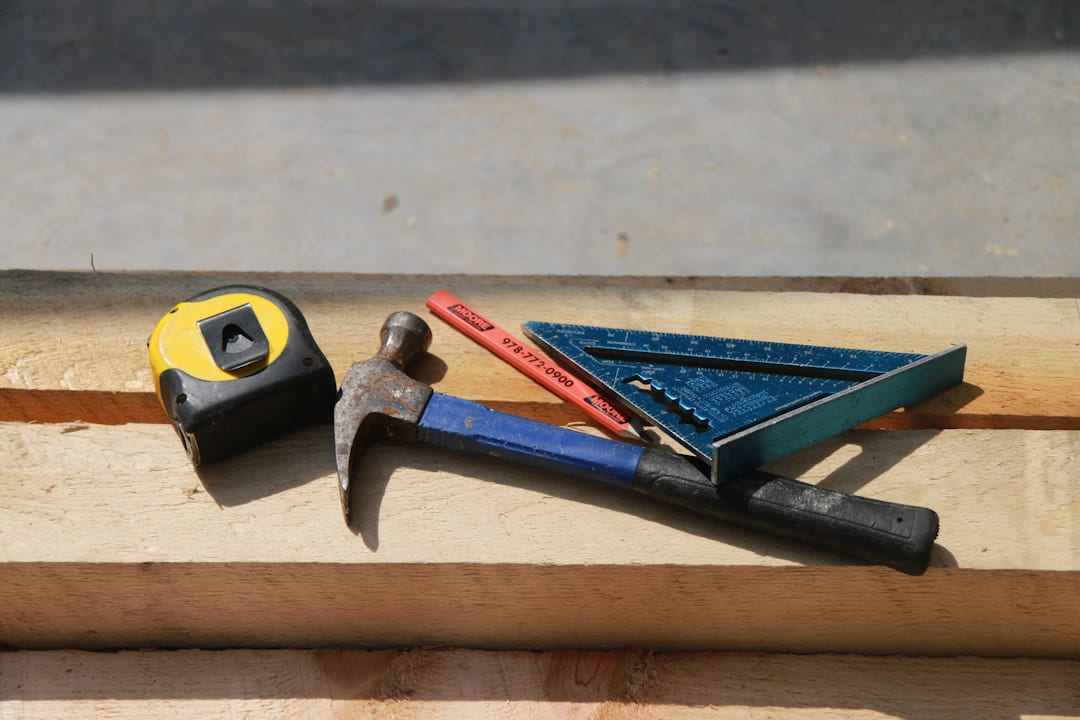
Before you dive headfirst into a DIY backsplash project, it’s wise to take a realistic self-assessment. It’s tempting to underestimate the effort involved, but a successful backsplash requires patience and attention to detail. Here are some questions to ask yourself:
- Have you ever tiled before? Even a small project like a bathroom vanity or a small accent wall can give you a valuable feel for the process. It’s a great way to test your skills and see if you enjoy the hands-on nature of tiling.
- Are you comfortable using basic tools like a level, measuring tape, and tile cutter? Tiling isn’t rocket science, but you’ll need to be comfortable with these tools. A laser level is highly recommended for achieving straight lines.
- Are you prepared to spend a few weekends dedicated to the project? Backsplash installation isn’t something you can rush. It typically takes at least two to three weekends, depending on the size of the area and your experience level.
- Are you okay with the potential for mistakes and the need to redo sections? Let’s be honest - mistakes happen. Even experienced tilers occasionally need to redo a section. Accepting this possibility and being willing to put in the extra effort to fix it is crucial.
If you answered “no” to several of these questions, it might be wise to consider professional installation. While DIY can be a deeply rewarding experience, it's not for everyone.
Once your backsplash is installed, a little regular maintenance goes a long way. Grout cleaning is essential - aim to clean it every few weeks with a grout brush and a mild cleaner (specifically designed for grout is best). Avoid harsh chemicals that can damage the grout and tile. Sealing the tile (especially ceramic and glass) will help protect it from stains, moisture, and everyday wear and tear. The frequency of sealing depends on the type of tile and the level of traffic in the area - typically every 1-3 years. And, of course, be mindful of spills and splatters - a quick wipe-down with a damp cloth is always better than a major cleaning job later on.
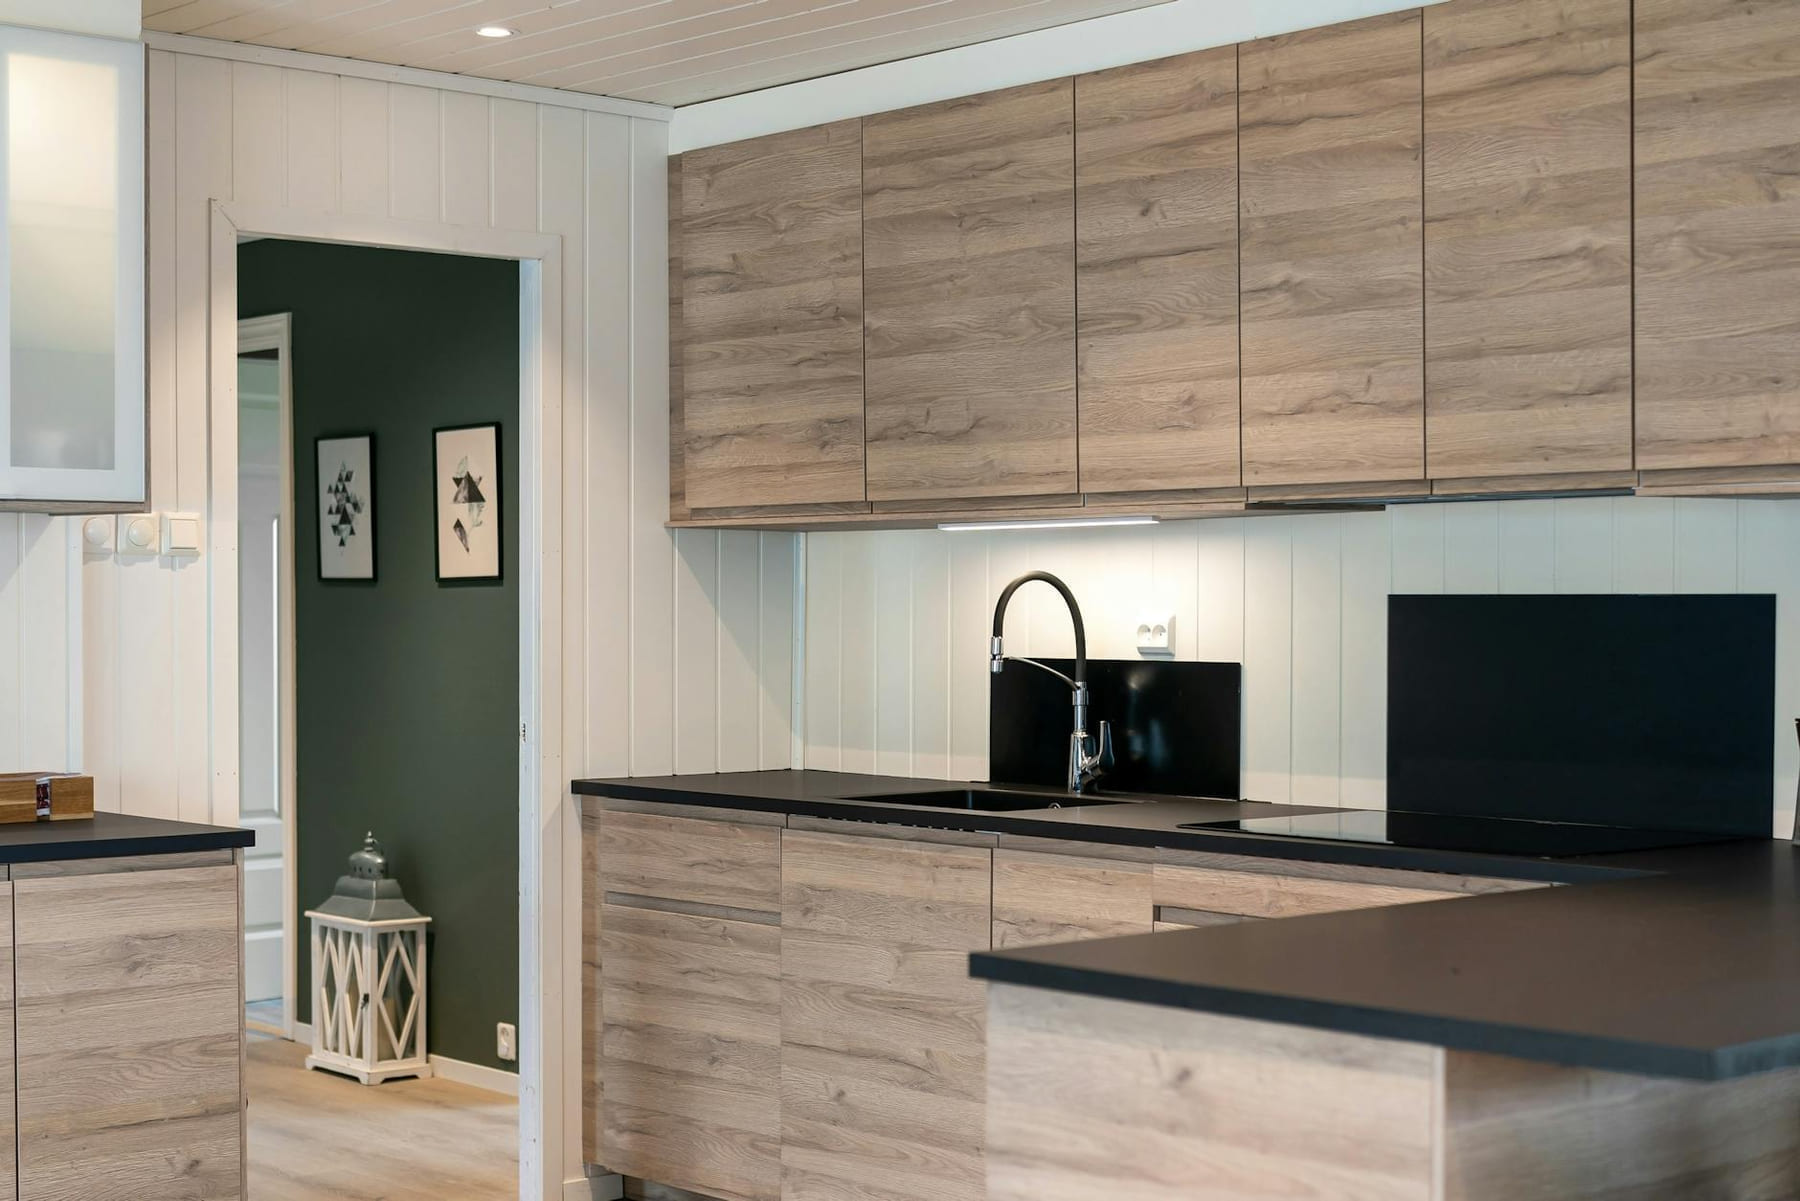
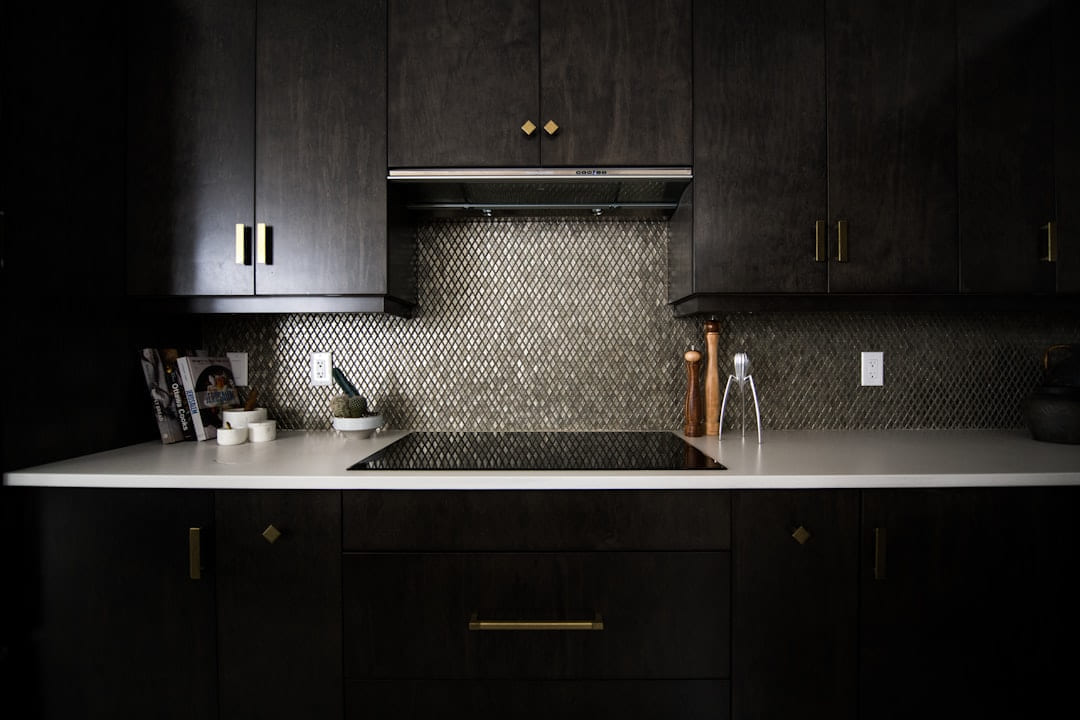
Exploring Backsplash Options: Beyond Subway Tile
While subway tile remains a popular and versatile choice, the options available today are truly expansive. Here's a breakdown of some popular choices, along with their approximate costs and considerations:
- Subway Tile: ($6 - $14 per square foot) - The classic for a reason! It’s affordable, easy to install, and comes in a huge range of colors and sizes.
- Glass Tile: ($8 - $20 per square foot) - Adds a touch of glamour and reflects light beautifully. Requires more careful installation to avoid chipping.
- Ceramic Tile: ($5 - $12 per square foot) - A durable and budget-friendly option with a wide variety of patterns and colors.
- Porcelain Tile: ($8 - $25 per square foot) - Extremely durable and water-resistant, making it ideal for high-traffic areas. Can be more challenging to cut.
- Stone Tile (Marble, Granite, Slate): ($15 - $40+ per square foot) - Adds a luxurious and natural look. Requires sealing and more careful maintenance.
- Geometric Tile: ($10 - $30+ per square foot) - Adds a modern and artistic touch. Requires precise layout and cutting.
- Textured Tile (Brick, Wood, Metal): ($8 - $25+ per square foot) - Creates a unique and dimensional look. Can be more challenging to install.
Trends & The Bottom Line
Right now, we’re seeing a lot of interest in geometric patterns, textured finishes (like exposed brick or stone), and earthy color palettes in backsplashes. Subway tile continues to be a classic, but it’s being paired with bolder colors and unique accents - like colored grout or contrasting borders - to create a more dynamic look. For example, a dark gray subway tile paired with a bright teal grout can create a stunning contrast. In practice, the best backsplash solution for you depends on your budget, your skill level, and your desired aesthetic. Consider the overall style of your kitchen or bathroom - a rustic farmhouse kitchen might benefit from a textured stone tile, while a sleek modern space might look stunning with glass tile.
While DIY can be a rewarding experience, don’t underestimate the value of professional installation, especially for high-traffic areas where durability is key, or if you’re aiming for a particularly complex design. A beautifully installed and well-maintained backsplash isn’t just an upgrade to your kitchen - it’s an investment in your home’s value and your enjoyment of it. Don’t be afraid to research, plan, and, if needed, seek professional help to bring your vision to life.
Keep This Practical
A useful home update should make the room easier to live in, not just better to photograph. Keep the next project practical, measurable, and easy to maintain after the excitement wears off.
Tools Worth A Look
These recommendations are most useful if you want tools, materials, or organizing help that support a cleaner DIY result.
- Amazon Smart Plug, Works with Alexa, Simple Setup, Endless Possibilities8-In-1 Multi Blades Hand Saw, Drywall CutterKRAUS Kore 33-in Drop-In Workstation 16 Gauge Stainless Steel Single Bowl Kitchen Sink with AccessoriesZELCAN Mag Drill Press with 11 Pcs Bits, 1550W Portable Magnetic Drill PressLEVOIT Air Purifiers for Bedroom Home Dorm, AHAM VERIFIED, 3-in-1 Filter Cleaner With Aroma Pad, Filters Smoke, Allergens, Pet Dander
Some of the links on this page are Amazon affiliate links, which means I may earn a small commission if you make a purchase through them. As an Amazon Associate, I earn from qualifying purchases.
Related ReadingMore from Hammer & Home
Backsplash Blues? DIY Fixes You Need
Ideas Troubleshooting - Hammer & Home DIY Backsplash Ideas Troubleshooting: Don’t Let Your Dream Turn into a Disaster So, you’re dreaming of a stunning, custom ba...
Backsplash Bliss: Step-by-Step DIY
Backsplash Bliss: Step-by-Step DIY breaks the project into more practical home-upgrade decisions so you can improve the space without overcomplicating the work.
Backsplash Brilliance: DIY Inspiration
Use backsplash brilliance: diy inspiration to narrow the next home project step, avoid common DIY friction, and make the result feel worth the effort.