Backsplash Bliss: Step-by can be easier to approach when you start with a few practical basics.
- Glass Tile: If you’re after a bit of sparkle and shine, glass tile is a fantastic option. It really bounces light around and can make a space feel brighter and more airy. It’s a little more delicate than ceramic, so you might want to use a special adhesive.
- Subway Tile: A classic for a reason! These rectangular tiles are always in style and work well in almost any kitchen design. They’re reasonably priced and easy to cut.
- Peel-and-Stick Tile: Seriously, this stuff has come a *long* way! It’s incredibly easy to install - you literally peel and stick it on. It’s a great choice if you’re renting or just want a super quick project. Just be aware that it’s not quite as durable as traditional tile, and it can sometimes lift over time.
- Mosaic Tile: These tiny tiles create really beautiful, intricate patterns and add a lot of visual interest. They can take a little more time to install, but the results are stunning.
- Geometric Patterns: Don’t be afraid to get creative! Geometric tiles can really make a statement and add a modern touch to your kitchen. with budget, peel-and-stick is usually the most affordable, followed by subway tile and ceramic. Glass and mosaic tile tend to be a bit pricier.
Getting Ready: A Little Prep Goes a Long Way (Backsplash Bliss: Step-by)
Before you even think about laying a single tile, you need to do a little prep work. Trust me on this - rushing this step is a recipe for frustration later on. 1. Removing the Old Backsplash: Carefully remove the existing backsplash. Use a putty knife to gently pry it loose from the wall. Be super careful around electrical outlets and plumbing - always turn off the power and water before you start. Scrape away any old adhesive. 2. Cleaning the Surface: A clean surface is essential. Use a scraper and cleaner to remove any dirt, grease, or loose debris. You want a smooth, even surface for the adhesive to stick to. 3. Leveling the Wall: Walls aren't always perfectly flat, are they? Use a level to check for any uneven areas. You can use shims to fill in small gaps, or patching compound to level out larger imperfections. Let the patching compound dry completely before moving on. 4. Priming: Applying a coat of primer to the wall will help the adhesive bond properly and prevent moisture from seeping through.
Laying the Tiles: Let's Get Creative!
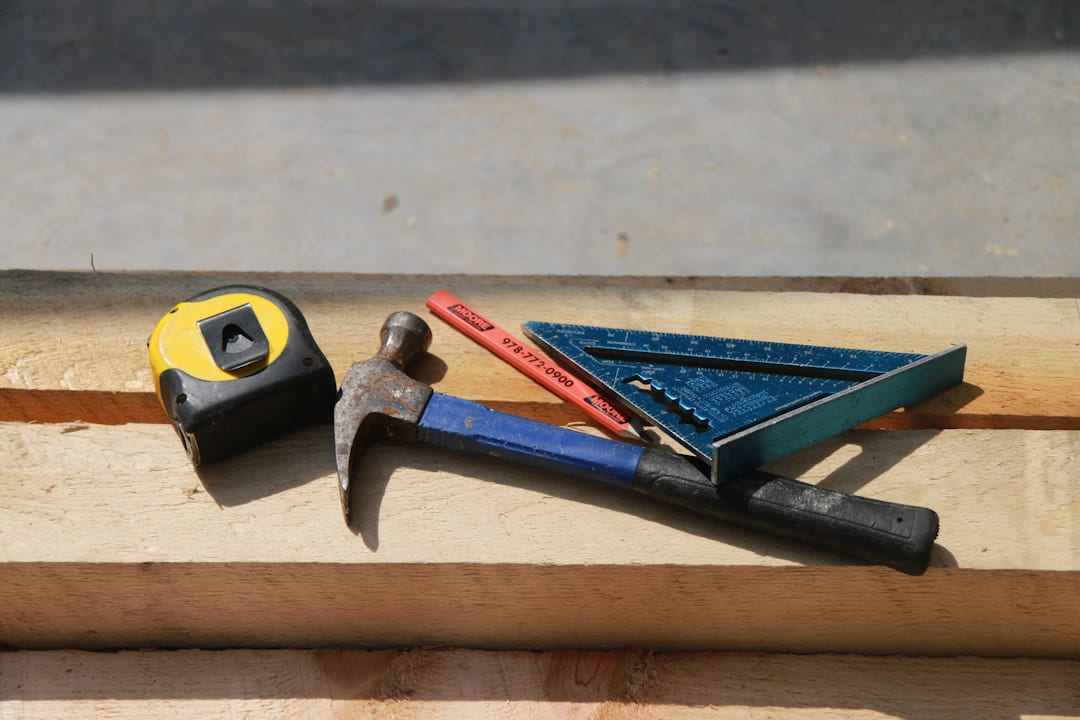
Okay, let’s get to the fun part! 1. Measuring & Cutting: Accurate measurements are key. Measure the width and height of your backsplash area. For ceramic and subway tile, a tile cutter is your best friend. A wet saw is ideal for more intricate cuts and larger tiles, but it’s a bigger investment. Small nippers can be handy for making precise cuts on smaller tiles. Always measure twice, cut once! 2. Layout Planning: Before you start gluing, lay out your tiles on the floor to plan your pattern. Brick patterns are great for a symmetrical look, herringbone is a classic, and staggered layouts can add a little visual interest. Do a dry run - literally lay the tiles out on the wall without adhesive - to make sure you like the look. 3. Applying Adhesive: Use a notched trowel to spread a thin, even layer of adhesive onto the wall. The notch size will depend on the size of your tiles - check the adhesive instructions. Don’t apply too much adhesive, as it can squeeze out and make a mess. 4. Tile Placement: Starting at one corner, carefully place each tile onto the adhesive, pressing firmly. Use spacers to maintain consistent spacing between the tiles. Check for level frequently.
Finishing Touches: Grouting and Sealing
1. Grouting: Once the adhesive is dry (check the manufacturer’s instructions for drying time), it’s time to grout. Cement-based grout is the most common type, but epoxy grout is more durable and stain-resistant - a good choice for high-traffic areas. Apply the grout with a grout float, working it into the spaces between the tiles. Wipe away excess grout with a damp sponge, rinsing frequently. 2. Grout Haze Removal: After the grout has dried, you’ll likely notice a haze on the tiles. Use a grout haze remover to buff away the haze and restore the tiles to their original shine. 3. Sealing (If Necessary): Certain materials, like glass and natural stone, benefit from sealing to protect them from stains and moisture. Follow the manufacturer’s instructions for applying the sealant.
Troubleshooting
- Uneven Walls: Shims and patching compound are your friends. Don’t try to compensate for uneven walls by using larger tiles - it will just make the problem more noticeable.
- Tile Misalignment: Take your time! Use spacers and check for level frequently. If you make a mistake, carefully remove the tile and re-apply the adhesive.
- Grout Issues: If the grout is cracking or crumbling, you may need to remove it and re-grout.
Resources
- A helpful website with tile cutting tutorials - example:
- A video demonstrating proper adhesive spreading technique - example: (Safety Precautions: Always wear safety glasses and gloves when working with tile and adhesive.)
Wrapping Up
Installing a DIY backsplash is a really rewarding project that can totally transform your kitchen. Take your time, be patient, and don’t be afraid to ask for help if you need it. With a little effort, you can create a beautiful and personalized space that you’ll be proud of. Ready to start planning your backsplash today? the recommendations below
Keep This Practical
A useful home update should make the room easier to live in, not just better to photograph. Keep the next project practical, measurable, and easy to maintain after the excitement wears off.
Tools Worth A Look
These recommendations are most useful if you want tools, materials, or organizing help that support a cleaner DIY result.
- BIGCOW Ultra-Slim Bidet Attachment for ToiletPREXISO Wood Moisture Meter - 7 in 1Digital Moisture Meter for Firewood, Woodworking, Walls, Home, Drywall, Paper, Floor - Moisture ReaderPink Tool Kit Box Drill Set:DEKOPRO Home Mechanic Toolbox with 12V Power Cordless Drill Hand Repair Tools Sets Combo Kits Storage Organizer Drawer CaseGuankai 8 Pack Motion Sensor Stair Light for Indoor, Battery Operated Closet Lights, Wireless Stick on AnywhereBLUEAIR Blue Pure 511i Max Smart Air Purifier for Bedroom & Small Rooms up to 926 Sq Ft, HEPASilent Air Cleaner
Some of the links on this page are Amazon affiliate links, which means I may earn a small commission if you make a purchase through them. As an Amazon Associate, I earn from qualifying purchases.
Related ReadingMore from Hammer & Home
Backsplash Dreams: DIY vs. Easy Swaps
DIY vs. Easy Swaps can be easier to approach when you start with a few practical basics.
Backsplash Blues? DIY Fixes You Need
Ideas Troubleshooting - Hammer & Home DIY Backsplash Ideas Troubleshooting: Don’t Let Your Dream Turn into a Disaster So, you’re dreaming of a stunning, custom ba...
Backsplash Brilliance: DIY Inspiration
Use backsplash brilliance: diy inspiration to narrow the next home project step, avoid common DIY friction, and make the result feel worth the effort.