The Foundation: Why Prep is Paramount (Mistakes to)
Before you even think about laying a single tile, let’s talk about preparation. Seriously, I can’t stress this enough. This is the single biggest factor determining the success of your backsplash project. A rushed or inadequate prep will almost certainly lead to problems down the line - peeling tiles, crumbling adhesive, and a generally unhappy result. Let’s break it down:
1. Substrate Inspection & Repair
The substrate - that’s the wall itself - needs to be in tip-top shape. Is it smooth? Is it level? Are there any cracks, holes, or loose areas? Don’t gloss over these issues. Small imperfections can telegraph through the tile, creating an uneven surface and eventually leading to tile failure. For drywall, patching any holes with drywall compound and sanding smooth is essential. If you have plaster walls, you’ll likely need to apply a bonding primer specifically designed for plaster to ensure the adhesive grabs properly. For existing tile, you’ll need to remove the old tile completely, ensuring you’ve addressed any underlying damage. Consider using a mechanical tile remover for larger areas - it’s a worthwhile investment that will save you a ton of time and effort.
2. Cleaning & Degreasing
This step is often overlooked, but it’s vital. Dirt, grease, and grime will prevent the adhesive from bonding correctly. Thoroughly clean the substrate with a degreasing cleaner, following the manufacturer’s instructions. Rinse well and allow it to dry completely. A clean surface is a happy surface!
3. Priming (When Necessary)
Depending on the substrate, a primer is your friend. For porous surfaces like drywall or concrete, a bonding primer will significantly improve adhesion. For glossy surfaces, a primer will create a better “key” for the adhesive to grip onto. Always read the adhesive manufacturer’s recommendations - they’ll often specify whether or not priming is required.
Material Matters: Choosing the Right Components
Selecting the right materials is just as important as prep work. Don’t just grab the cheapest tile and adhesive you can find. Here’s what to consider:
4. Using the Wrong Adhesive
This is a common mistake. Not all adhesives are created equal. Ceramic tile requires a thin-set mortar specifically formulated for tile. Porcelain tile needs a stronger, more durable adhesive. Consider the weight of the tile and the type of substrate you’re working with. Read the adhesive packaging carefully and choose one that’s appropriate for your project. For example, a quick-setting adhesive might be suitable for smaller areas, but it won’t provide the same long-term bond as a traditional, slower-setting mortar.
5. Grout Cracking or Discoloration: Quality Counts
Grout is often the overlooked hero of a backsplash. Cheap grout is prone to cracking, crumbling, and fading. Invest in a quality sanded grout - sanded grout is essential for most tile sizes. Also, consider epoxy grout for areas prone to moisture or heavy use. When mixing the grout, follow the manufacturer’s instructions precisely. Over-mixing or under-mixing can both lead to problems. Sealing the grout after installation is crucial to prevent staining and water damage.
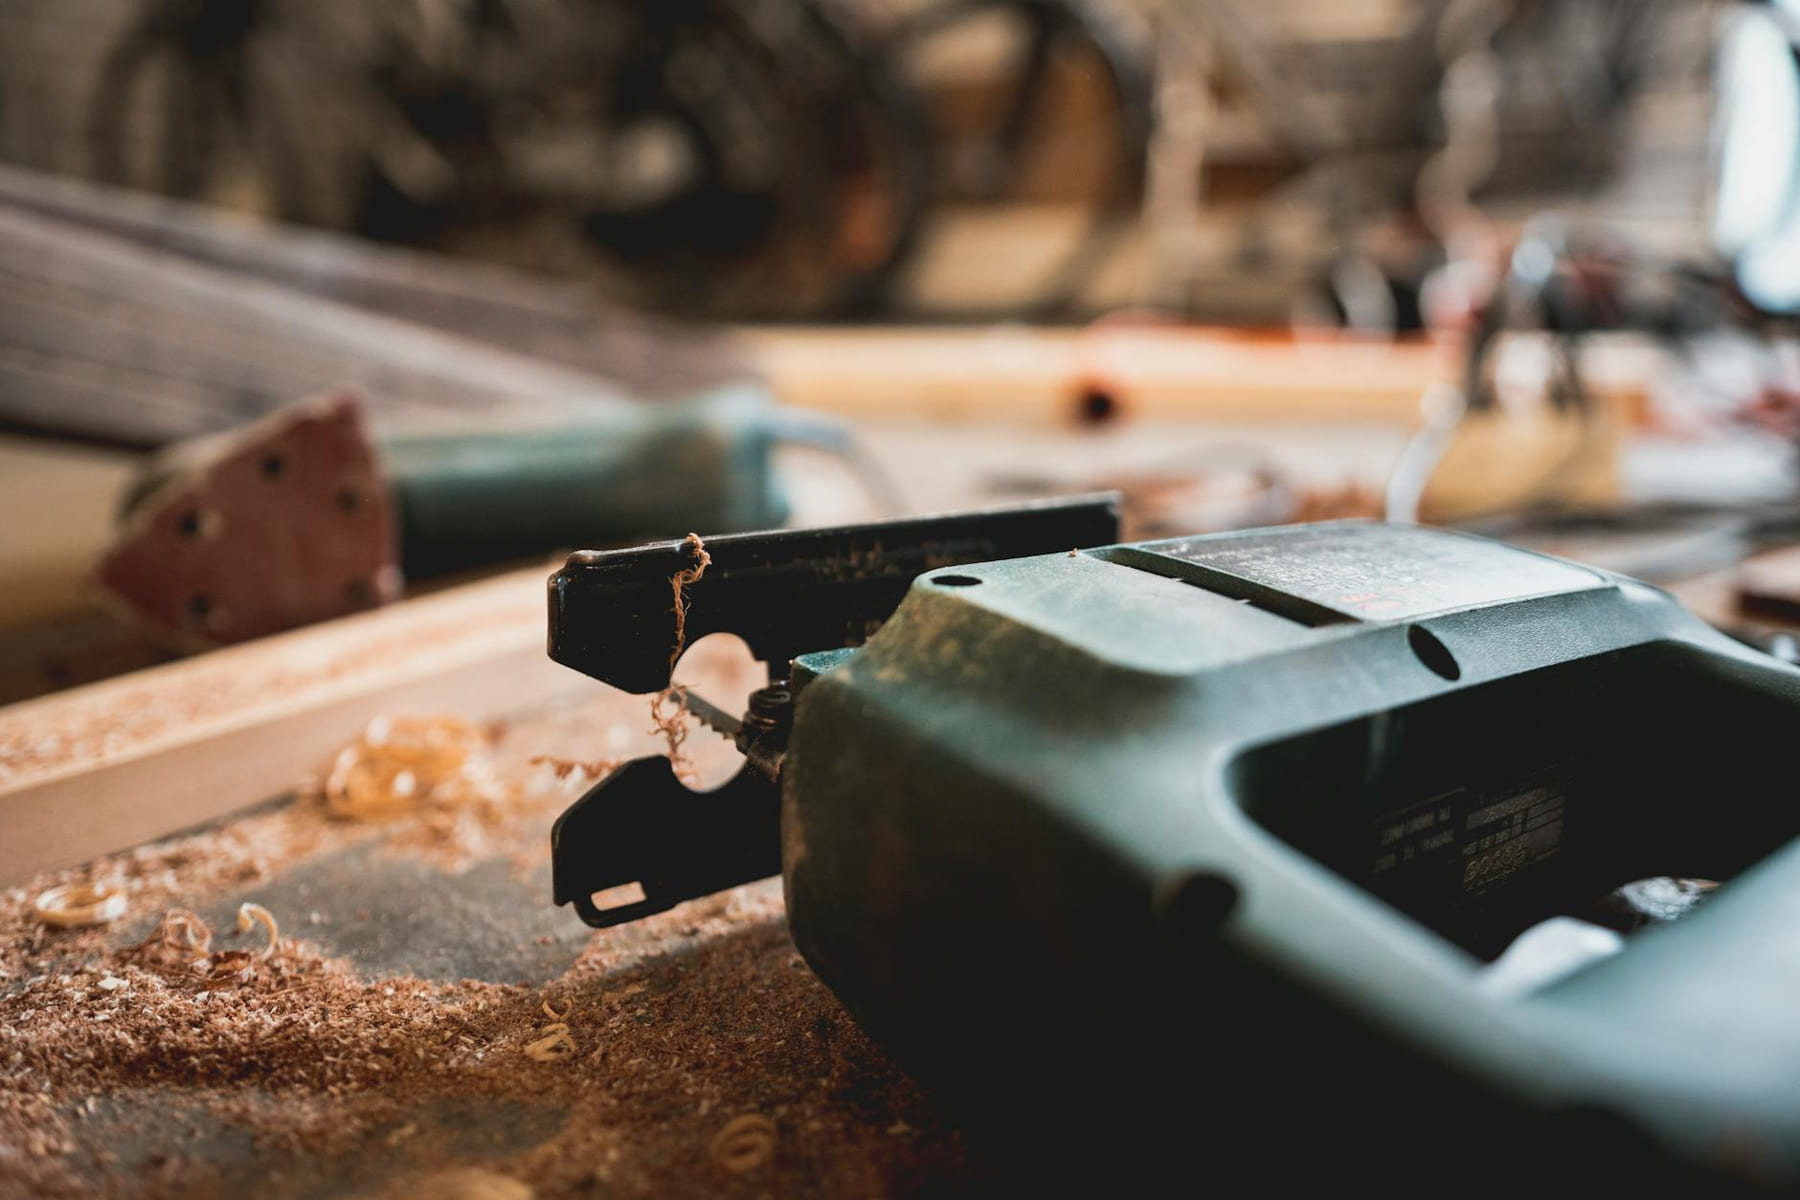
6. Sloppy Cuts: Precision is Key
Clean, precise cuts make a huge difference in the final look. Don’t rely on a dull tile saw. A sharp blade will give you cleaner cuts and reduce the risk of chipping. Practice your cuts on scrap tiles before tackling the actual backsplash. Consider using a wet saw for larger areas - it will provide a smoother cut and minimize dust. For smaller areas, a manual tile cutter can work well, but requires more skill and patience.
Beyond the Basics: Addressing Expansion & Movement
Tiles expand and contract with temperature changes. This is a fundamental property of ceramic and porcelain. Ignoring this can lead to cracking and buckling. The solution? Leave a small gap - typically 1/8” to 1/4” - around the edges of the backsplash to allow for this movement. This gap will be covered by the grout, so it shouldn't be visually noticeable. For larger backsplashes, consider using flexible spacers to maintain consistent gaps.
Practical Examples & Scenarios
- Small Bathroom Backsplash (Subway Tile): For a small bathroom, using a pre-mixed thin-set mortar and a standard sanded grout is often sufficient. Focus on meticulous cleaning and accurate cutting.
- Large Kitchen Backsplash (Large Format Tile): A large format tile project requires a more powerful wet saw and a higher-quality adhesive. Proper substrate preparation is absolutely critical to prevent cracking. Consider using a flexible sealant around the edges to accommodate expansion.
- Backsplash Over Existing Tile: Removing the old tile completely is usually the best option. If you’re attempting to adhere directly over the existing tile, ensure it’s perfectly level and clean, and use a bonding primer.
Start with what you will actually use
With Backsplash Blunders: DIY Mistakes to Dodge, the first question is usually not which option looks best on paper. It is which part will make day-to-day life easier, smoother, or cheaper once the novelty wears off.
A lot of options sound great until you picture them in a normal week. If the setup is fussy, the routine is easy to forget, or the maintenance is annoying, the appeal fades quickly.
There is also value in keeping one part of the process deliberately simple. Readers often do better when they identify the one decision that carries the most weight and make that choice carefully before they chase smaller optimizations. That keeps momentum steady and usually prevents the topic from turning into clutter.
What tends to get overlooked
Tradeoffs are normal here. Cost, convenience, upkeep, and flexibility do not always line up neatly, so it helps to decide which tradeoff matters least to you before you commit.
This usually gets easier once you make a short list of priorities. A tighter list tends to produce better decisions than trying to solve every possible problem at once.
Another useful filter is asking what you would still recommend if the budget got tighter, the schedule got busier, or the setup had to be easier for someone else to manage. The answers to that question usually reveal which advice is durable and which advice only works under ideal conditions.
Conclusion
Installing a DIY backsplash is achievable, and it can be a really rewarding project. But it requires patience, attention to detail, and a willingness to learn. By focusing on proper substrate preparation, choosing the right materials, and taking your time, you can create a beautiful, durable backsplash that you’ll be proud of - and without breaking the bank. Don’t be afraid to tackle this project, and remember, even if you make a few mistakes, they’re a learning opportunity. And if you’re feeling overwhelmed, don’t hesitate to consult with a professional - a little help can go a long way! Now go forth and transform your space!
Keep This Practical
A useful home update should make the room easier to live in, not just better to photograph. Keep the next project practical, measurable, and easy to maintain after the excitement wears off.
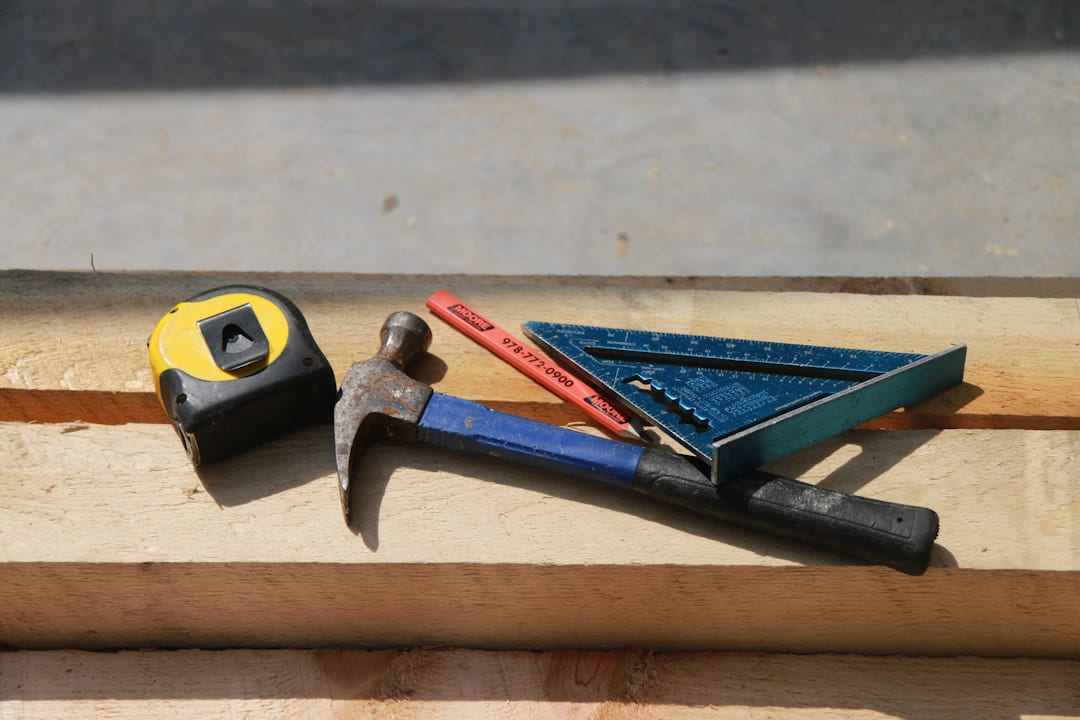
Tools Worth A Look
These recommendations are most useful if you want tools, materials, or organizing help that support a cleaner DIY result.
- SR SUN RISE 12 Inch Brushed Gold Shower System, Wall-Mount Adjustable 16-Inch Slide Bar with 6-Function Hand Shower Faucet Included Valve and Trim Kit18 Outlets Surge Protector Power StripAmazon Echo Dot Max (newest model)Pink Tool Kit Box Drill Set:DEKOPRO Home Mechanic Toolbox with 12V Power Cordless Drill Hand Repair Tools Sets Combo Kits Storage Organizer Drawer CaseBluevua RO100ROPOT Countertop Reverse Osmosis Water Filter System
Some of the links on this page are Amazon affiliate links, which means I may earn a small commission if you make a purchase through them. As an Amazon Associate, I earn from qualifying purchases.
Related ReadingMore from Hammer & Home
Backsplash Dreams: DIY vs. Easy Swaps
DIY vs. Easy Swaps can be easier to approach when you start with a few practical basics.
Backsplash Blues? DIY Fixes You Need
Ideas Troubleshooting - Hammer & Home DIY Backsplash Ideas Troubleshooting: Don’t Let Your Dream Turn into a Disaster So, you’re dreaming of a stunning, custom ba...
Backsplash Bliss: Step-by-Step DIY
Backsplash Bliss: Step-by-Step DIY breaks the project into more practical home-upgrade decisions so you can improve the space without overcomplicating the work.