Small Space can be easier to approach when you start with a few practical basics.
2. Mark the Location: Use a pencil and level to mark where the shelf brackets will go. Accuracy here is crucial for a level shelf. 3. Choose Your Brackets: There are tons of options available - simple metal brackets, wooden brackets, or even repurposed hardware. Make sure the brackets are rated for the weight you plan to put on the shelves. 4. Install the Brackets: Using a drill, carefully screw the brackets into the wall. *Important:* Different wall types require different techniques. Drywall needs wall anchors. Plaster often requires a pilot hole. If you’re unsure, it’s always a good idea to consult with a hardware professional. Don’t force it - a wobbly shelf isn't a good look. 5. Attach the Shelf Boards: Once the brackets are secure, attach the shelf boards using screws. Again, ensure they’re flush with the wall for a clean finish. You can find plenty of helpful videos on YouTube demonstrating these steps if you prefer a visual guide.Upcycled Ladder Shelf - Repurpose and Reimagine (Small Space)
This project is a fantastic way to add character and storage without spending a fortune. An old wooden ladder, often found at flea markets or garage sales, can be transformed into a rustic and charming shelving unit. Let’s get started: 1. Find Your Ladder: Look for a sturdy ladder with a solid frame. The taller the ladder, the more shelves you’ll have. 2. Clean and Sand: Give the ladder a good cleaning and lightly sand down any rough edges. 3. Paint or Stain: This is where you can really personalize the shelf. Choose a color that complements your décor. A dark stain will give it a more rustic feel, while a bright paint color will add a pop of personality. 4. Attach Shelves: Cut planks of wood to the desired length for your shelves. Attach them to the rungs of the ladder using screws and wood glue. Space them evenly. 5. Optional - Add a Backing: For extra stability and a cleaner look, you can add a piece of plywood or beadboard to the back of the ladder. The beauty of this project is that you can easily adapt it to your style. Experiment with different ladder types, paint colors, and shelf lengths. You might even add decorative elements like stencils or rope.
Command Center Wall - Organization is Key
Let’s face it: a cluttered space equals a cluttered mind. Creating a designated “command center” wall can help you streamline your life and make it easier to stay organized. This doesn’t have to be a complicated design - it’s about creating a system that works for you. Here’s a simple approach: 1. Choose a Wall: Select a wall in a high-traffic area, like an entryway or hallway. 2. Gather Your Supplies: You’ll need adhesive hooks (Command strips are a popular choice), small bins or baskets for storing loose items, a key rack, and perhaps a calendar or whiteboard. 3. Hang Hooks: Use adhesive hooks to hang keys, mail, and other frequently used items. 4. Organize Bins: Place small bins or baskets on the wall to store things like pens, notepads, and charging cables. 5. Add a Calendar/Whiteboard: A calendar or whiteboard can help you keep track of appointments and to-do lists. A clean, organized Command Center Wall can be a game-changer for productivity and peace of mind.
Quick & Easy Additions
Okay, let’s keep the momentum going with a couple of super-simple projects: Project 4: DIY Wall Art - Personalize Your Space You don't need to be an artist to create beautiful wall art. Frame fabric scraps, pressed flowers, or even geometric designs cut from paper. Simple is often best. A few carefully chosen pieces can really elevate a small space. Project 5: Under-Bed Storage Solutions - Maximize Vertical Space Under-bed storage is a goldmine for small spaces. Rolling drawers or fabric bins are perfect for storing out-of-season clothing, shoes, or extra bedding. You can even create custom organizers using cardboard boxes and fabric.
Tool & Material Recommendations
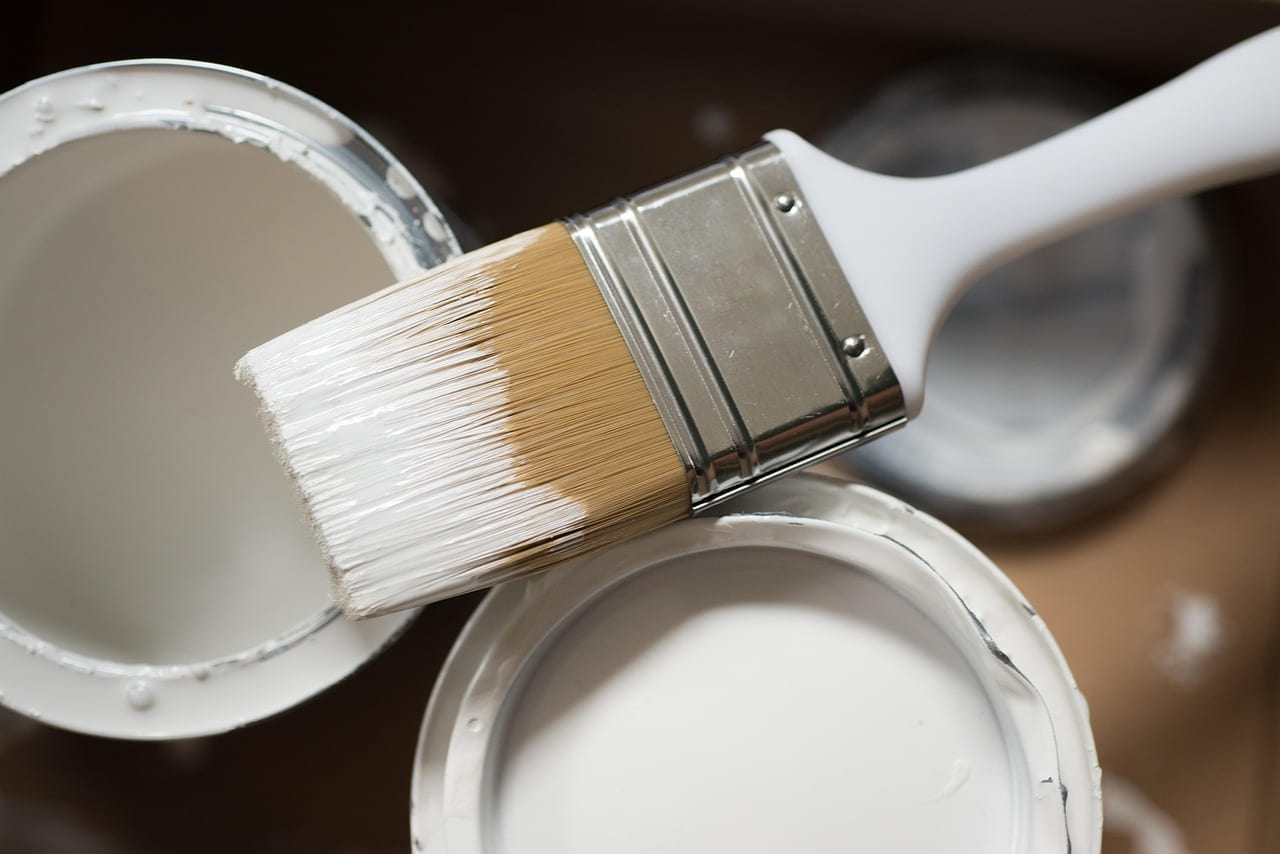
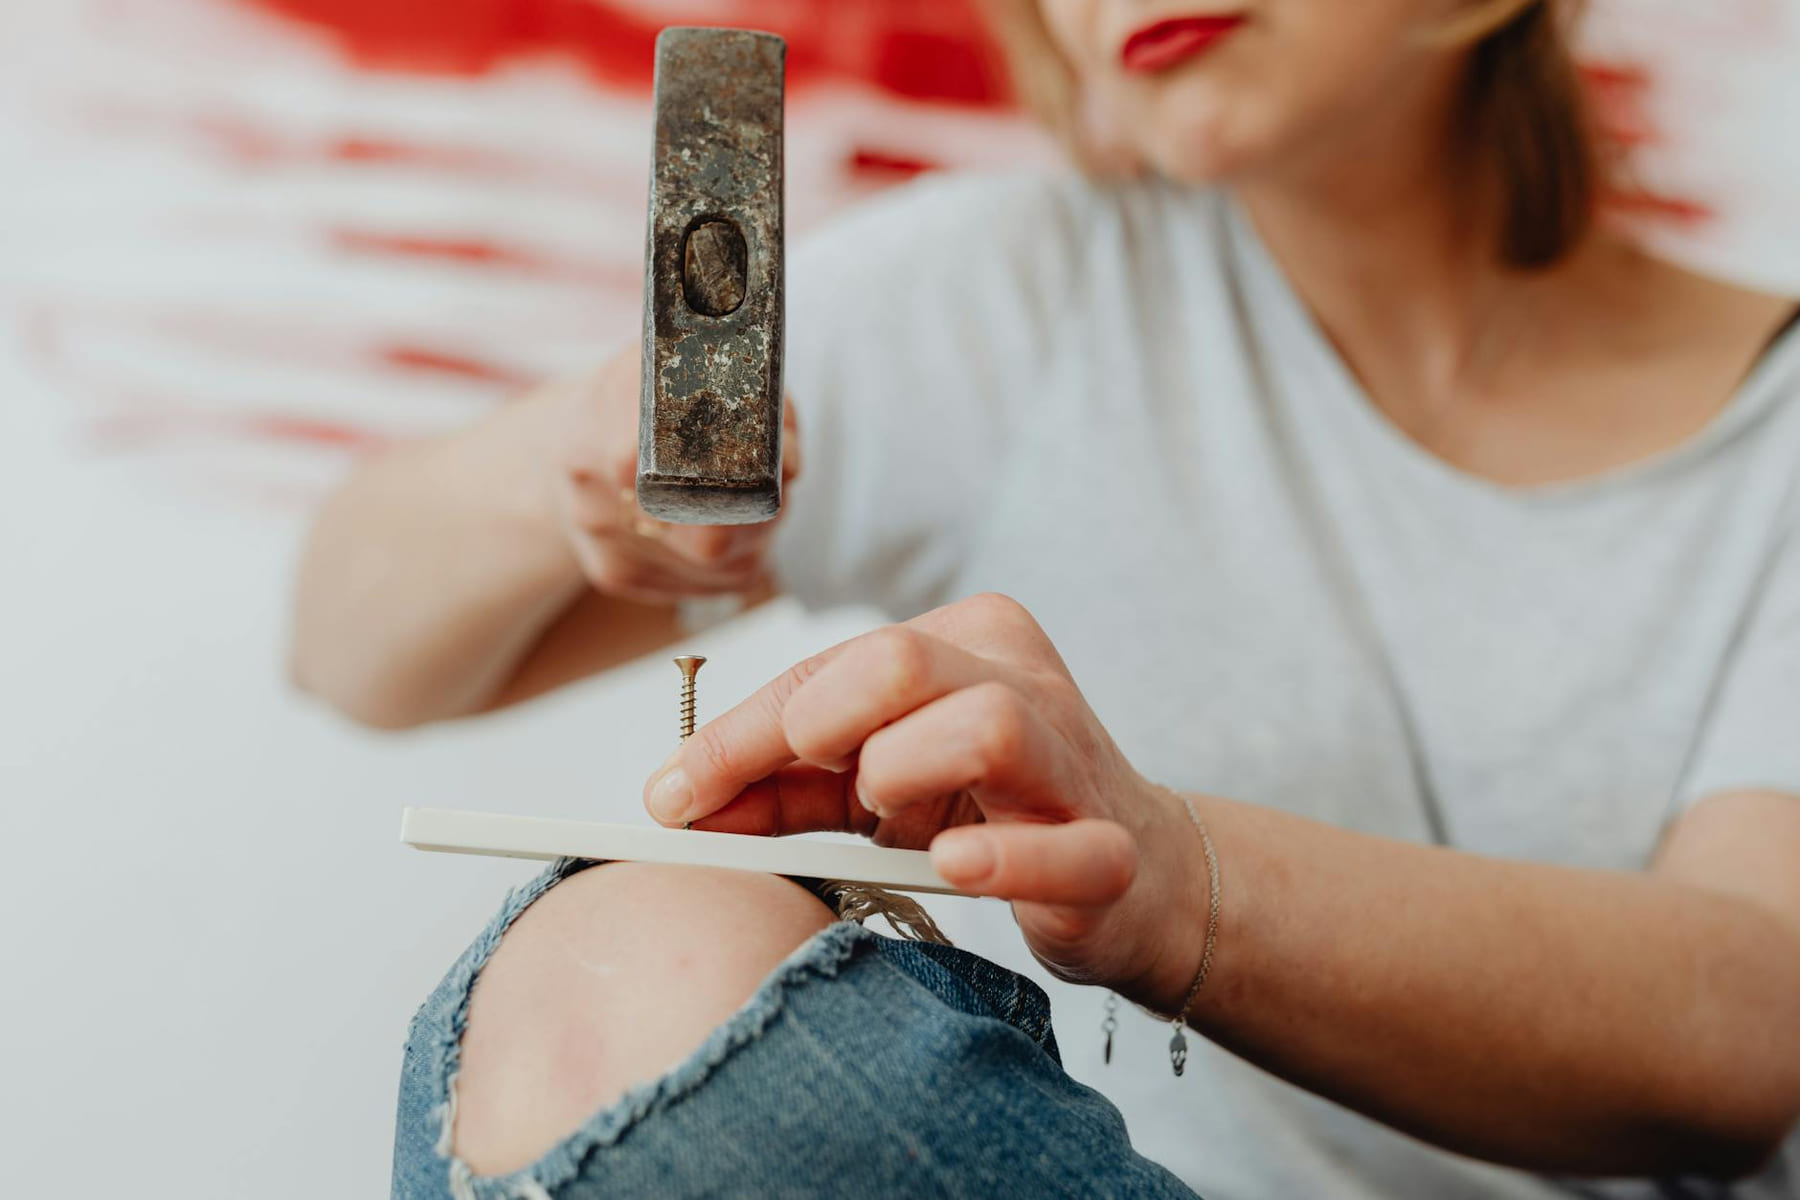
You don’t need a huge workshop to tackle these projects. Here's a rundown of the essentials: * Essential Tools: Hammer, screwdriver (a multi-bit one is incredibly handy), measuring tape, level.
- Affordable Alternatives: A basic cordless drill makes a huge difference, but you can often borrow one from a friend or neighbor.
- Material Sourcing: Check out secondhand stores and flea markets for affordable wood and hardware. Discount hardware stores like Lowe's and Home Depot offer great deals on supplies. Don’t underestimate the power of upcycling - that old ladder? It's a treasure!
Safety Tips
Safety first! Always wear safety glasses when drilling or sawing. Use gloves to protect your hands. And take your time - rushing can lead to mistakes.
Focus on the part that solves the problem
In a topic like Home improvement, the strongest starting point is usually the one you will notice and use right away. That is often more helpful than adding extra features too early.
Before spending more, it is worth checking the setup, upkeep, and learning curve. Small hassles matter here because they are usually what decide whether something stays useful or gets ignored.
It is easy to underestimate how much clarity comes from removing one unnecessary layer. In practice, trimming one complication often does more for Small Space DIY: Easy Projects to Start than adding one more feature, one more product, or one more clever workaround.
Where extra features get in the way
Another easy trap is copying a setup that made sense for someone with a different routine, budget, or tolerance for maintenance. In Home improvement, that mismatch is often what makes a promising idea feel frustrating later.
A lot of options sound great until you picture them in a normal week. If the setup is fussy, the routine is easy to forget, or the maintenance is annoying, the appeal fades quickly.
There is also value in keeping one part of the process deliberately simple. Readers often do better when they identify the one decision that carries the most weight and make that choice carefully before they chase smaller optimizations. That keeps momentum steady and usually prevents the topic from turning into clutter.
Conclusion
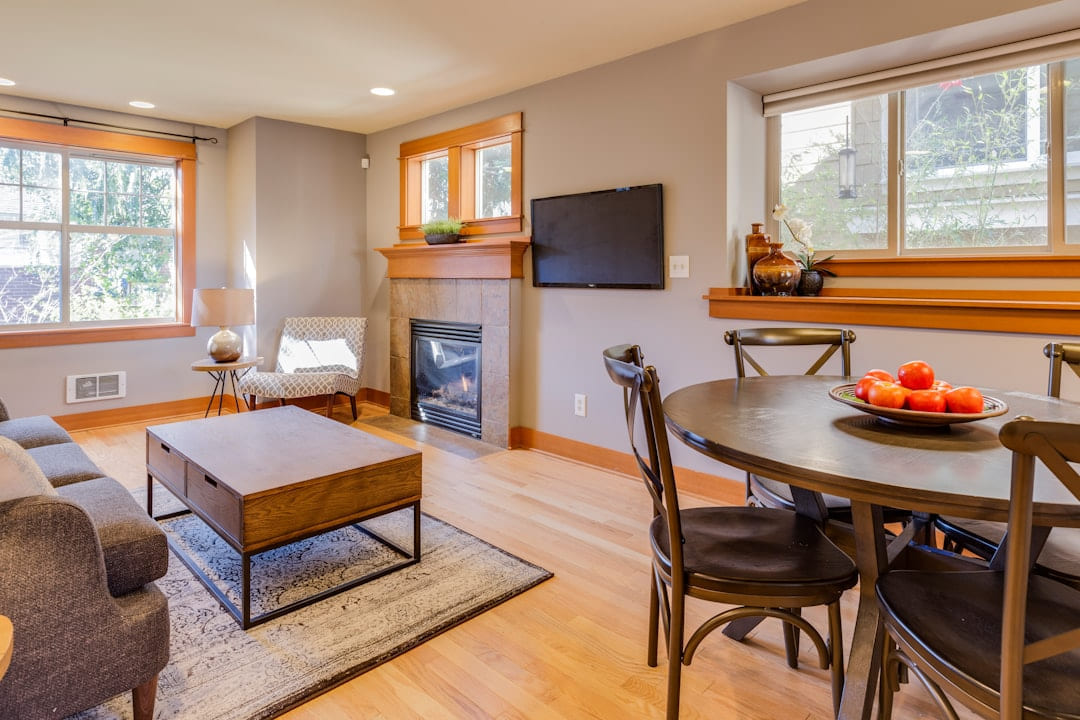
Creating a comfortable and stylish small space doesn’t have to be daunting. With a few simple DIY projects, you can transform your little corner of the world into a space you truly love. We've covered some foundational ideas - floating shelves, upcycled furniture, organizational systems, and easy art. Now it’s your turn! We’d love to see what you create. Share your projects on social media using #HammerAndHomeDIY. And if you’re looking for more inspiration, be sure to subscribe to our newsletter for more tips and tutorials - we're even considering a "DIY Project of the Month" subscription for our most dedicated followers!
Keep This Practical
A useful home update should make the room easier to live in, not just better to photograph. Keep the next project practical, measurable, and easy to maintain after the excitement wears off.
Tools Worth A Look
These recommendations are most useful if you want tools, materials, or organizing help that support a cleaner DIY result.
- BLUEAIR Blue Pure 511i Max Smart Air Purifier for Bedroom & Small Rooms up to 926 Sq Ft, HEPASilent Air CleanerLEVOIT Air Purifiers for Bedroom Home Dorm, AHAM VERIFIED, 3-in-1 Filter Cleaner With Aroma Pad, Filters Smoke, Allergens, Pet DanderDOACE 100W GaN Universal Travel Adapter, 6-in-1 International Power AdapterBIGCOW Ultra-Slim Bidet Attachment for ToiletAmazon Echo Dot Max (newest model)
Some of the links on this page are Amazon affiliate links, which means I may earn a small commission if you make a purchase through them. As an Amazon Associate, I earn from qualifying purchases.
Related ReadingMore from Hammer & Home

Small Space DIY: Clever Projects You Can Build
You Can Build can be easier to approach when you start with a few practical basics.
Small Space DIY vs. Clever Solutions
DIY Projects for Small Spaces: Budget Tips to Maximize Your Home Living in a small space doesn’t have to mean sacrificing style or functionality. In fact, it can.
Small Space DIY: Fixing Common Problems
DIY Projects for Small Spaces Troubleshooting - Hammer & Home DIY Projects for Small Spaces Troubleshooting: Don't Let Your Dreams Crumble Let’s be honest.