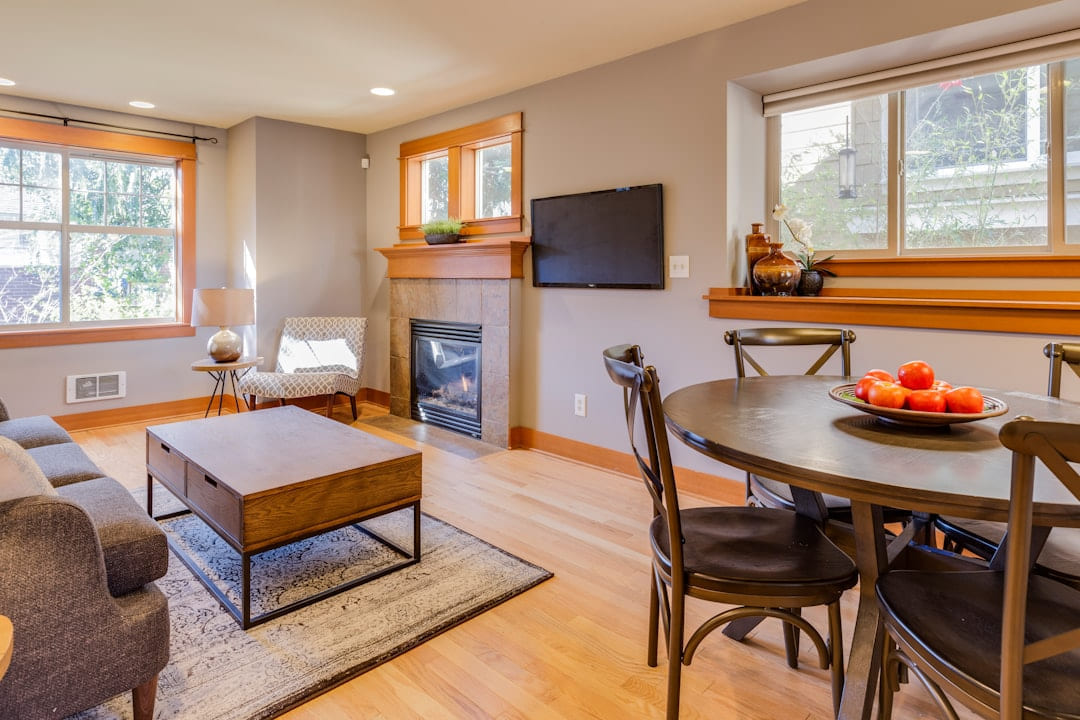
1. The Measurement Mayhem: Why Your Plans Are Off (Small Space)
This is, without a doubt, the most frequent culprit. Small spaces demand precise measurements. A millimeter off on a shelf bracket, a half-inch difference in a cabinet door - it all adds up. It’s not enough to just eyeball it. We're talking laser precision, folks.
Practical Tip: Don’t rely on just one measurement. Measure multiple times, using different tools (a tape measure, a ruler, even a laser measurer if you’re serious). Measure the actual space, not just the dimensions you think it is. Account for obstructions - pipes, electrical outlets, or even the depth of your walls. Consider using graph paper to map out your project and scale it to your space. For example, if you're building a floating shelf, draw the shelf on graph paper, scaling it to the actual dimensions of your wall and the depth of the shelf itself.
Example: Sarah was determined to build a narrow, wall-mounted spice rack. She measured her cabinet wall as 12 inches wide. She bought the materials and started cutting, only to discover that the actual width of the wall was only 11.5 inches due to a recessed outlet. The spice rack didn’t fit! A few extra measurements and a slight adjustment to the design saved the day.
You’ve meticulously measured, you’ve planned, and you’ve started building… only to realize it’s too big. This is incredibly disheartening, but it happens. Small spaces are a constant negotiation between aesthetics and functionality.
Troubleshooting Steps:
- Scale Down: The simplest solution is often the best. Can you reduce the size of the project? Smaller shelves, narrower benches, shorter cabinets - even a slight reduction can make a huge difference.
- Repurpose: Think creatively. Could you use existing furniture as a base? Could you build a smaller version of your original design?
- Modular Design: Break down your project into smaller, manageable modules that can be adjusted and rearranged. This gives you flexibility and allows you to adapt as you go.
- Consider Hidden Storage: If you’re building a piece of furniture, think about incorporating hidden storage compartments to maximize space.
Example: Mark wanted to build a large, ornate entryway bench. His hallway was barely 4 feet wide. After realizing the bench was too bulky, he scaled down the design, opting for a slim, streamlined bench with integrated storage for shoes and hats.
2. Material Shortages: Running Out of Supplies
This is a classic DIY frustration. You start with a confident supply of lumber, screws, and paint… and then realize you’re halfway through your project and running dangerously low.
Prevention is Key:
- Accurate Calculations: Reiterate the importance of accurate calculations! Overestimate your material needs by 10-15% to account for mistakes and waste.
- Inventory Tracking: Keep a detailed inventory of your materials as you use them.
- Buy in Bulk (Sometimes): For frequently used items like screws and nails, buying in bulk can often be more cost-effective.
- Local Hardware Store Runs: Don’t be afraid to make a quick trip to the hardware store if you realize you’re short on something.
Example: Emily was building a small bookshelf and ran out of 2x4s halfway through. A quick trip to the hardware store and a slightly adjusted design (using shorter shelves) saved her project from being abandoned.
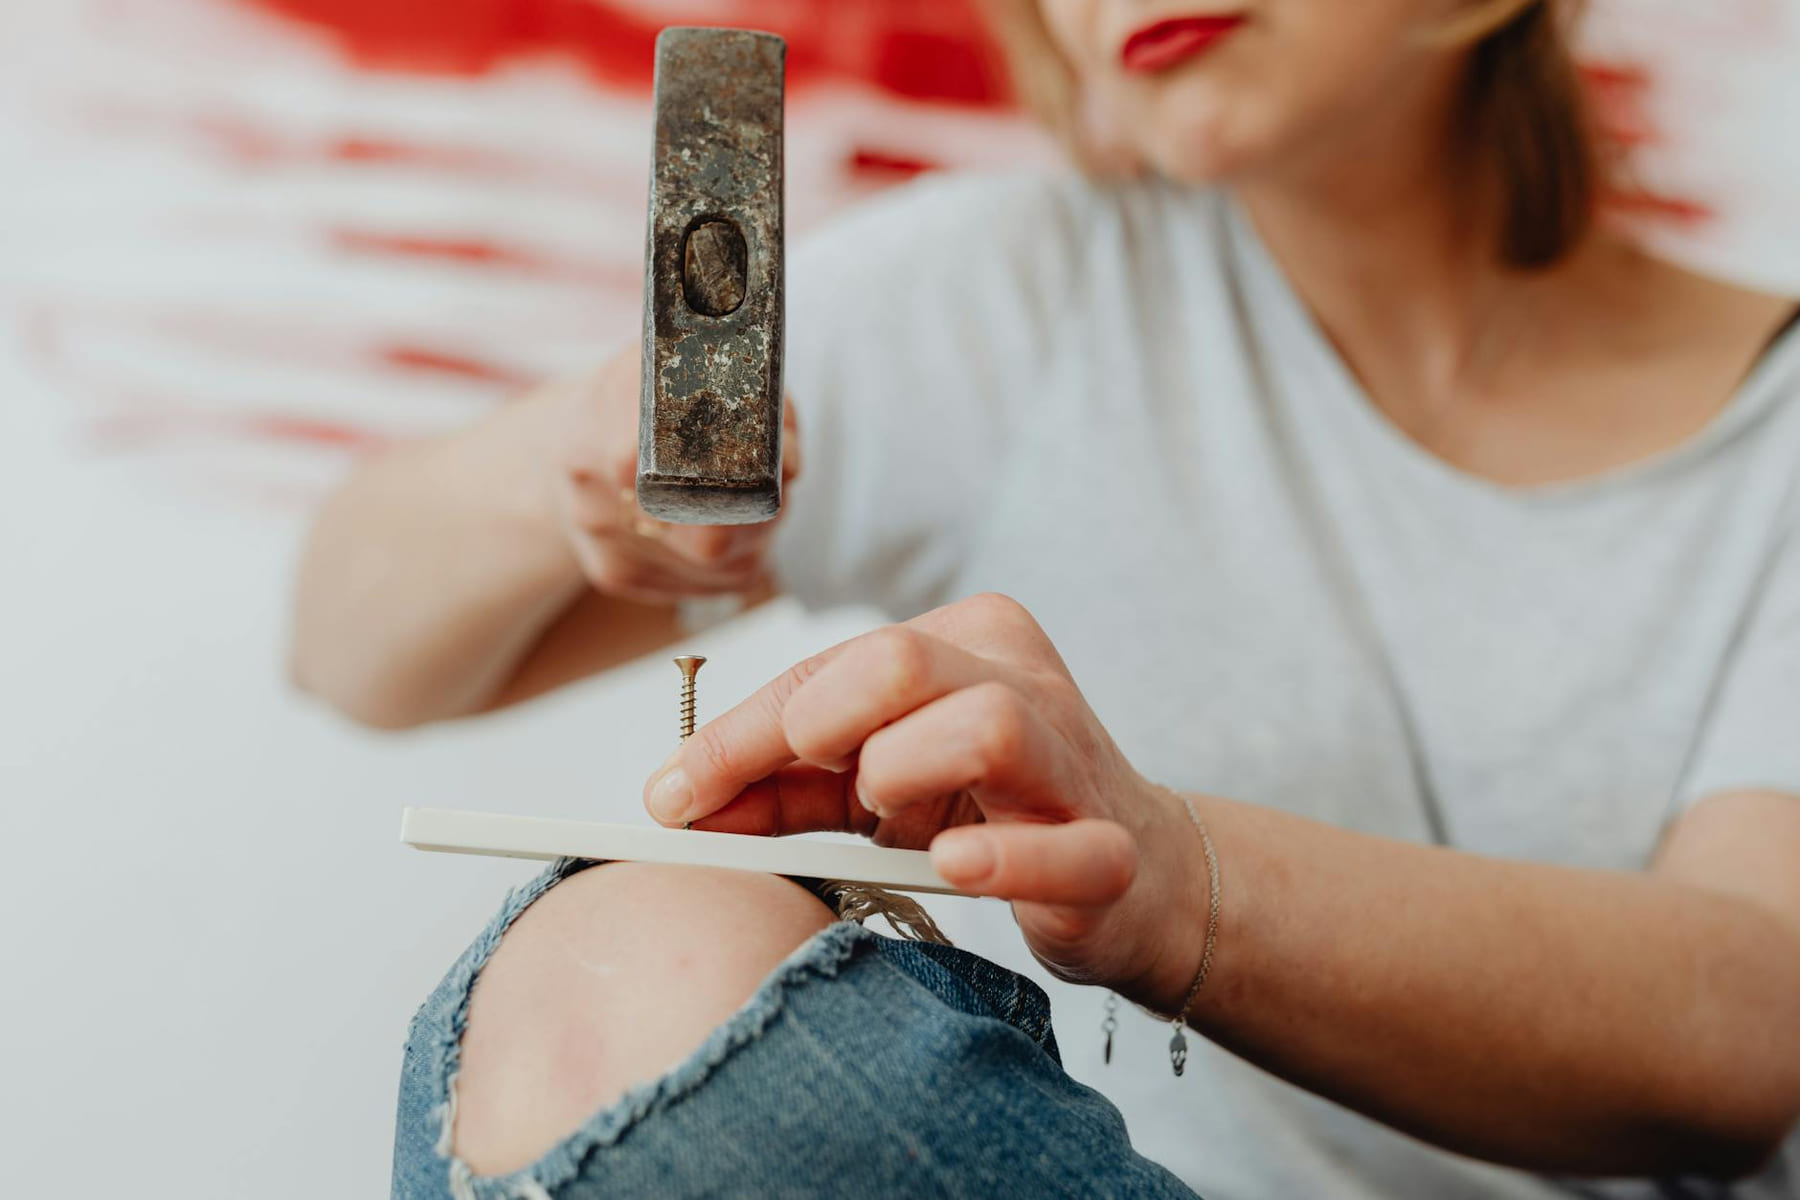
Let’s face it, DIY projects can be tough on tools. Small spaces often mean working in tight corners and awkward positions, which can strain tools and lead to malfunctions.
Solutions:
- Sharp Tools are Essential: Dull tools are more dangerous and less effective. Sharpen your saw blades, chisels, and drill bits regularly.
- Proper Tool Selection: Choose the right tool for the job. Don’t try to force a tool to do something it’s not designed for.
- Secure Your Workpiece: Always use clamps or a vise to secure your workpiece, especially when cutting or drilling.
- Take Breaks: Working in a small space can be physically demanding. Take breaks to avoid fatigue and prevent accidents.
Example: David was struggling to cut a piece of wood for his narrow console table. His saw blade was dull, and he was having difficulty maintaining a straight line. Sharpening the blade and using a guide made the cut much easier and more accurate.
3. Finishing Touches: Achieving a Polished Look
Small spaces demand a clean, uncluttered aesthetic. Poorly executed finishing touches can quickly detract from the overall look of your project.
Tips for Success:
- Sand Thoroughly: Proper sanding is crucial for a smooth, professional finish.
- Clean Surfaces: Remove all dust and debris before applying paint or stain.
- Multiple Coats: Apply multiple thin coats of paint or stain rather than one thick coat.
- Consider Minimalism: Less is often more in small spaces. Opt for simple, clean designs and avoid excessive ornamentation.
Example: Jessica was building a small bathroom vanity. She rushed the sanding process, resulting in a rough, uneven finish. Taking the time to sand properly and applying a few coats of paint transformed the vanity into a beautiful, polished piece of furniture.
Start with what you will actually use
With Small Space DIY: Fixing Common Problems, the first question is usually not which option looks best on paper. It is which part will make day-to-day life easier, smoother, or cheaper once the novelty wears off.
A lot of options sound great until you picture them in a normal week. If the setup is fussy, the routine is easy to forget, or the maintenance is annoying, the appeal fades quickly.
There is also value in keeping one part of the process deliberately simple. Readers often do better when they identify the one decision that carries the most weight and make that choice carefully before they chase smaller optimizations. That keeps momentum steady and usually prevents the topic from turning into clutter.
What tends to get overlooked
Tradeoffs are normal here. Cost, convenience, upkeep, and flexibility do not always line up neatly, so it helps to decide which tradeoff matters least to you before you commit.
This usually gets easier once you make a short list of priorities. A tighter list tends to produce better decisions than trying to solve every possible problem at once.
Another useful filter is asking what you would still recommend if the budget got tighter, the schedule got busier, or the setup had to be easier for someone else to manage. The answers to that question usually reveal which advice is durable and which advice only works under ideal conditions.
How to keep the setup simple
If you want Small Space DIY: Fixing Common Problems to hold up over time, choose the version you can actually maintain. That can mean spending less, leaving out an attractive extra, or simplifying the setup so it fits ordinary life.
The version that holds up best is usually the one you can live with on an ordinary day. That often matters more than the version that only feels good when you have extra time, energy, or money.
That is why the best next step is often a modest one with a clear upside. You want something specific enough to act on, flexible enough to adjust, and practical enough that you would still recommend it after the first burst of enthusiasm fades.
Keep This Practical
The best DIY upgrades are the ones you will still appreciate six months from now. Prioritize the project that improves function first, then let style follow with less guesswork.
Tools Worth A Look
If you are moving from ideas to an actual home project, the products below are the closest practical fit.
- Solar Fence Lights Outdoor - 2700/4000/6000K 3 Mode, 8 Pack Solar Fence LightsSolar Lights Outdoor, 106 LED 3000LM Solar Powered Motion Sensor Flood Lights with Remote, Dusk to Dawn Led Solar Security Wall Lights with 16.5Ft CableHOTO Laser Measuring Tool, Unique Gifts for Men Women, Pocket-Size 98Ft Laser Tape MeasureBluevua RO100ROPOT Countertop Reverse Osmosis Water Filter SystemSR SUN RISE 12 Inch Brushed Gold Shower System, Wall-Mount Adjustable 16-Inch Slide Bar with 6-Function Hand Shower Faucet Included Valve and Trim Kit
Some of the links on this page are Amazon affiliate links, which means I may earn a small commission if you make a purchase through them. As an Amazon Associate, I earn from qualifying purchases.
Related ReadingMore from Hammer & Home

Small Space DIY: Clever Projects You Can Build
You Can Build can be easier to approach when you start with a few practical basics.
Small Space DIY vs. Clever Solutions
DIY Projects for Small Spaces: Budget Tips to Maximize Your Home Living in a small space doesn’t have to mean sacrificing style or functionality. In fact, it can.
Small Space DIY: Step-by-Step Projects
Tools You’ll Need: Drill, screwdriver, level, sandpaper, handsaw or circular saw. A little reminder: Seriously, don’t skip the wall anchors if you’re not drilling.