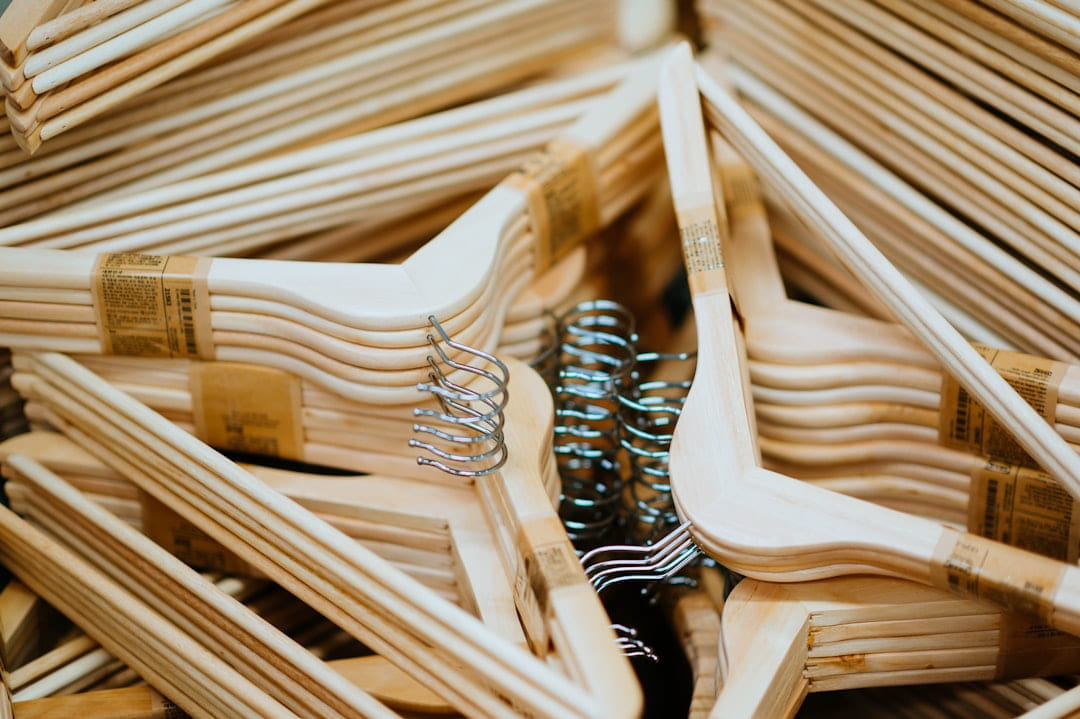
The Purge - You Can’t Organize What You Don’t Own (Your Closet)
Your Closet can be easier to approach when you start with a few practical basics. Before you even think about shelves and bins, you need to confront the elephant in the closet. This is arguably the most important step, and it can be surprisingly emotional. Be ruthless! Start by taking everything out of your closet. Yes, everything. Pile it on your bed or the floor. Then, create three piles: Keep, Donate/Sell, and Trash.
- Keep: These are the items you genuinely love, wear regularly, and fit well.
- Donate/Sell: Items in good condition that you no longer wear or need. Consider local charities, consignment shops, or online platforms like Poshmark or Facebook Marketplace.
- Trash: Items that are damaged beyond repair, stained, or simply worn out.
As you go through your clothes, ask yourself some key questions: “Have I worn this in the last year?” “Does it fit properly?” “Do I feel good when I wear it?” “Is it in good condition?” If the answer to most of these questions is “no,” it’s time to let it go. Don’t hold onto things “just in case.” That “just in case” pile is a major contributor to closet chaos.
Pro Tip: The KonMari method - focusing on keeping only items that “spark joy” - can be incredibly helpful during this process. It’s not just about clothes; it’s about creating a space that makes you feel good.
DIY Storage Solutions - Get Creative!
Now that you’ve decluttered, it’s time to get strategic about storage. Here are some DIY closet organization ideas, broken down by budget and effort:
Low-Cost & Easy (Under $50)
- DIY Hanging Shoe Organizer: A simple over-the-door shoe organizer can be repurposed for scarves, belts, jewelry, or even small accessories. ($15 - $30)
- Cardboard Box Dividers: Cut cardboard boxes to create custom dividers for shelves, keeping folded items neatly separated. (Free - using recycled materials)
- Upcycled Fabric Bins: Use old pillowcases, sheets, or tablecloths to create fabric bins for storing smaller items like socks, underwear, or hats. ($0 - using repurposed materials)
- Pegboard Organization: A pegboard mounted on the wall offers incredibly versatile storage for accessories, jewelry, and small tools. ($20 - $40)
Mid-Range DIY (Between $50 - $200)
- Floating Shelves: Install floating shelves to create extra storage space for folded clothes, shoes, or decorative items. (Materials: Wood, brackets - $50 - $150)
- DIY Closet Rod Dividers: Create dividers from wood or PVC pipe to separate hanging shirts from pants, preventing wrinkles. ($30 - $70)
- Wire Basket Shelves: Wire baskets are great for storing shoes, handbags, or anything that needs good ventilation. ($40 - $80)
- Custom Drawer Inserts: Build drawer inserts from plywood or foam board to maximize space and keep drawers organized. ($60 - $120)
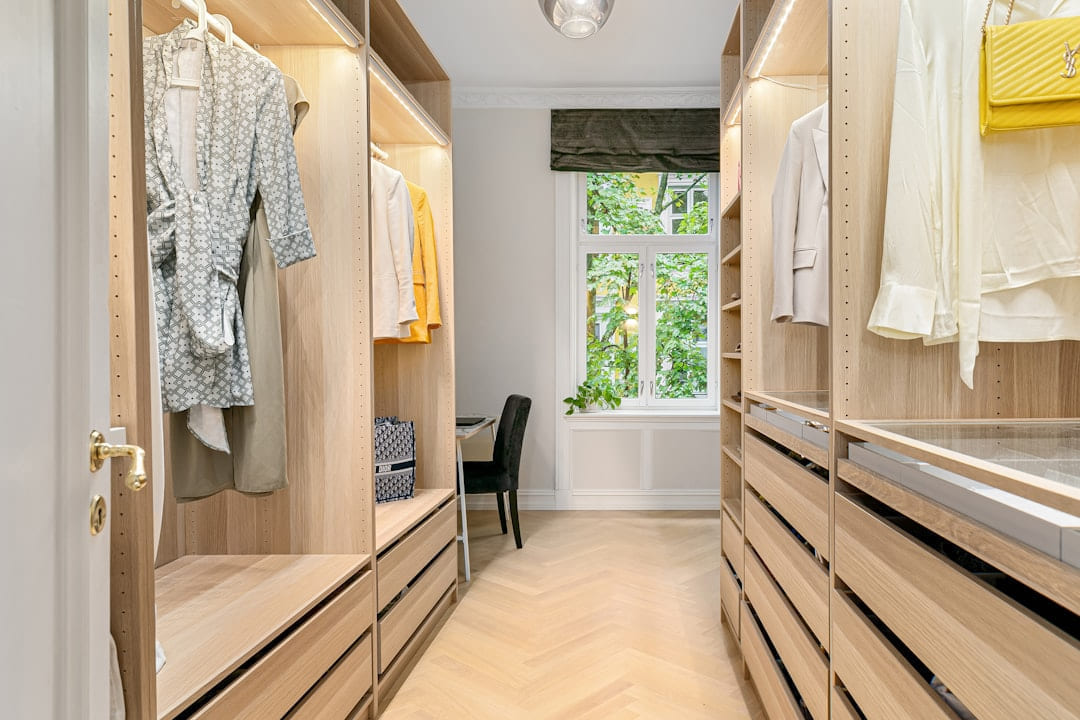
More Involved DIY (Over $200 - For the Dedicated!)
- DIY Closet System (Partial): Build a simple, custom shelving unit to replace an existing wire shelf or create a dedicated shoe storage area. (Materials: Wood, hardware - $150 - $300+)
- Sliding Closet Organizer: Construct a sliding organizer to maximize space in a narrow closet. (Requires more advanced woodworking skills)
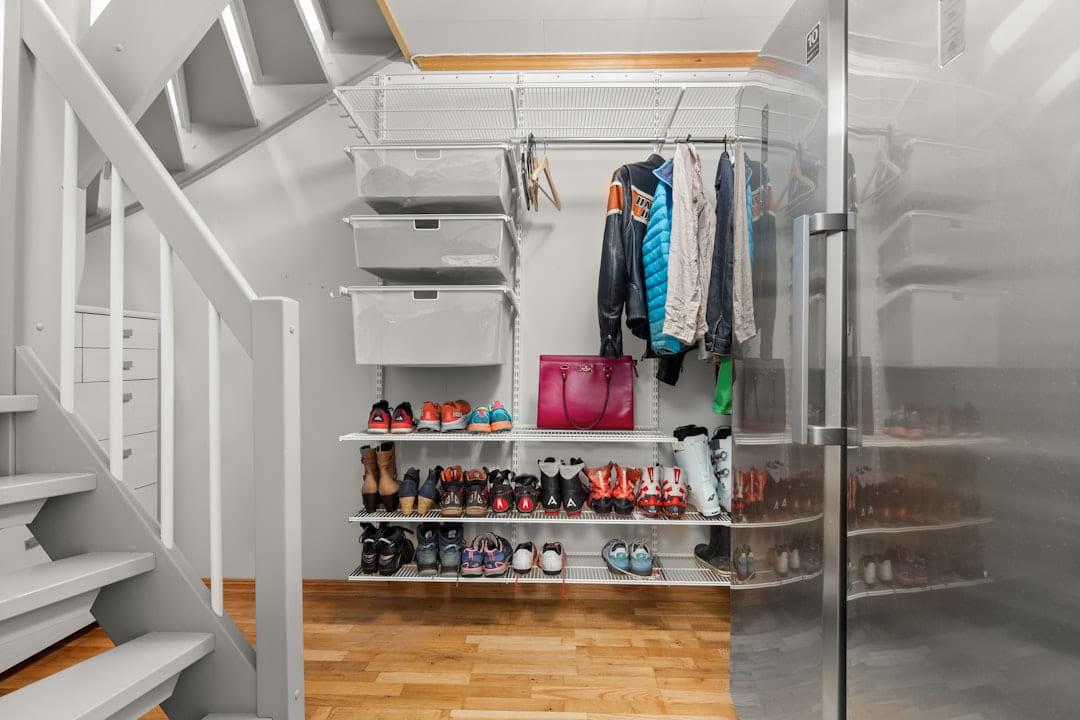
Maximizing Space & Maintaining Order
Organization isn't just about adding storage; it’s about maximizing the space you already have. Here are a few extra tips:
- Hang Clothes Strategically: Hang similar items together (e.g., all shirts, all pants). Color-coding can also make it easier to find what you're looking for.
- Utilize Vertical Space: Don't just think about shelves; consider stacking bins and baskets on top of each other.
- Roll, Don’t Fold (for some items): Rolling clothes instead of folding them can save space and prevent wrinkles, especially for t-shirts and jeans.
- Regular Maintenance: Schedule a quick closet clean-out every season to prevent clutter from building up again. A 15-minute tidy-up once a month can make a huge difference.
Start with what you will actually use
With Organize Your Closet: Simple DIY Solutions, the first question is usually not which option looks best on paper. It is which part will make day-to-day life easier, smoother, or cheaper once the novelty wears off.
A lot of options sound great until you picture them in a normal week. If the setup is fussy, the routine is easy to forget, or the maintenance is annoying, the appeal fades quickly.
There is also value in keeping one part of the process deliberately simple. Readers often do better when they identify the one decision that carries the most weight and make that choice carefully before they chase smaller optimizations. That keeps momentum steady and usually prevents the topic from turning into clutter.
What tends to get overlooked
Tradeoffs are normal here. Cost, convenience, upkeep, and flexibility do not always line up neatly, so it helps to decide which tradeoff matters least to you before you commit.
This usually gets easier once you make a short list of priorities. A tighter list tends to produce better decisions than trying to solve every possible problem at once.
Another useful filter is asking what you would still recommend if the budget got tighter, the schedule got busier, or the setup had to be easier for someone else to manage. The answers to that question usually reveal which advice is durable and which advice only works under ideal conditions.
How to keep the setup simple
If you want Organize Your Closet: Simple DIY Solutions to hold up over time, choose the version you can actually maintain. That can mean spending less, leaving out an attractive extra, or simplifying the setup so it fits ordinary life.
The version that holds up best is usually the one you can live with on an ordinary day. That often matters more than the version that only feels good when you have extra time, energy, or money.
That is why the best next step is often a modest one with a clear upside. You want something specific enough to act on, flexible enough to adjust, and practical enough that you would still recommend it after the first burst of enthusiasm fades.
Keep This Practical
The best DIY upgrades are the ones you will still appreciate six months from now. Prioritize the project that improves function first, then let style follow with less guesswork.
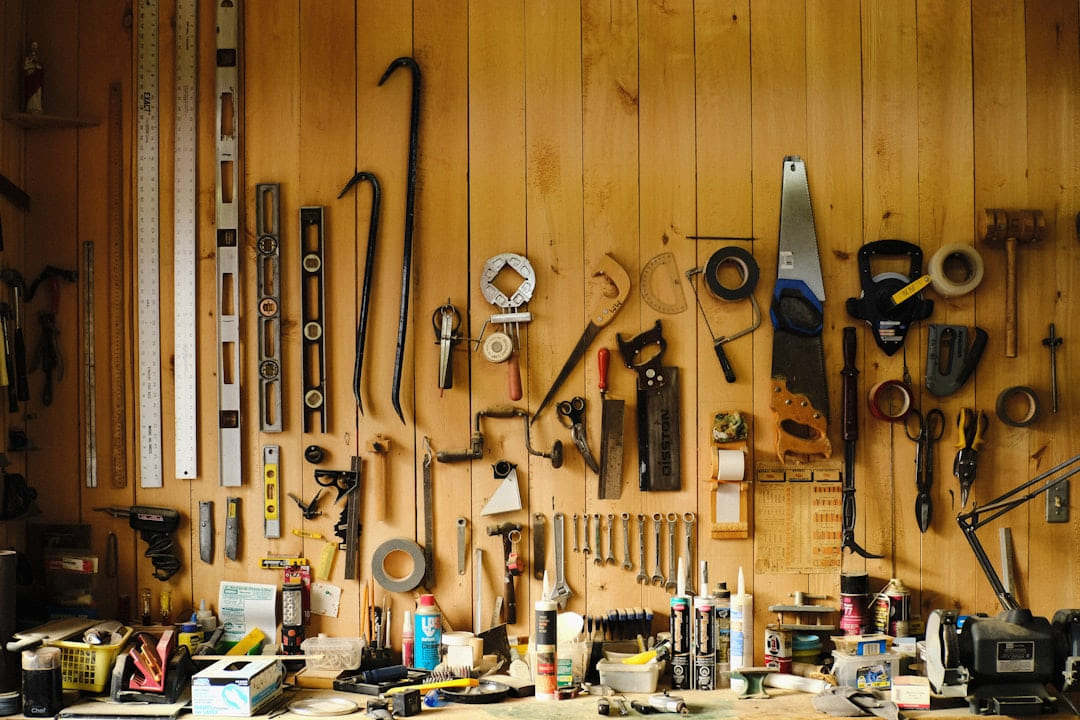
Tools Worth A Look
If you are moving from ideas to an actual home project, the products below are the closest practical fit.
- Laser Level Line Tool, Multipurpose Laser Level Kit Standard Cross Line Laser leveler Beam Tool with Metric Rulers 8ft/2.5M for Picture Hanging14.7inch Under Cabinet Lighting with 3 Color Temps4G LTE Cellular Security Camera Wireless OutdoorCARPETNAL 30 Inch Bathroom Vanity with Sink, Modern Fluted Bathroom Vanity with SinkOutlet Extender with Night Light, HANYCONY Multi Plug Outlet, USB Wall Charger Surge Protector 4 USB Ports(1 USB C), Power Strip
Some of the links on this page are Amazon affiliate links, which means I may earn a small commission if you make a purchase through them. As an Amazon Associate, I earn from qualifying purchases.
Related ReadingMore from Hammer & Home
Organize Your Closet: A Step-by-Step Guide
Step-by-Step Guide can be easier to approach when you start with a few practical basics. --- Hammer & Home: DIY Closet Organization Step by Step Let’s be honest.
Organize Your Closet: A Practical Guide
Organization Checklist - Hammer & Home DIY Closet Organization Checklist: Transform Your Chaos into Calm Let’s be honest, most of us have closets that resemble.
Closet Chaos? Avoid These DIY Errors
Closet Chaos? Avoid These DIY Errors offers a clearer, more practical take on diy closet so readers can make the next move with less confusion and more confidence.