Everett Ramsey | May 04, 2026
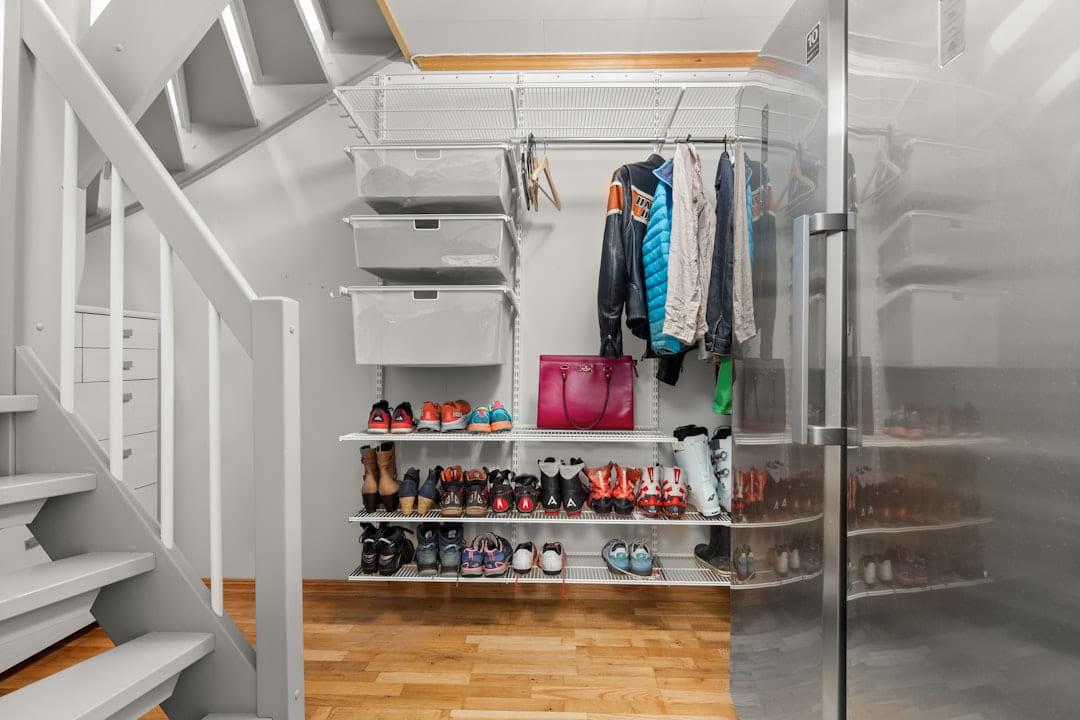
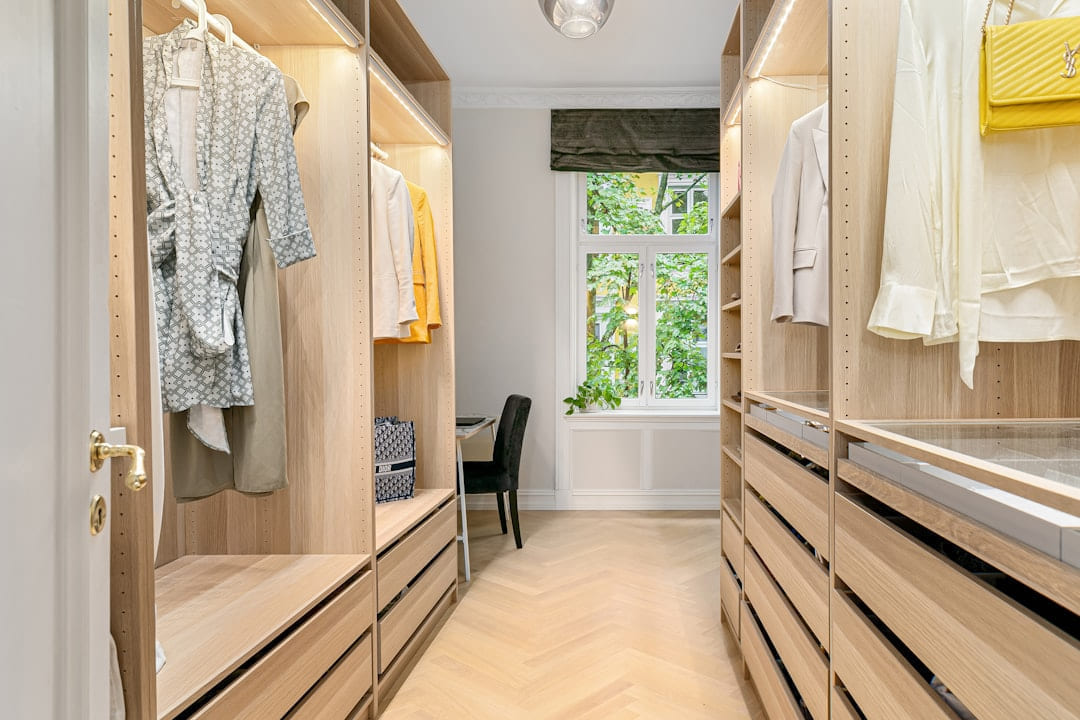
Let’s be blunt. Closets are notorious. They’re the black holes of our homes, swallowing clothes, shoes, and forgotten treasures with alarming efficiency. You start with good intentions - a weekend project to organize, maybe add a little shelving - and suddenly you’re wrestling with crooked drywall, misaligned studs, and a growing sense of dread. I’ve seen countless DIY closet projects devolve into disasters, not because of a lack of enthusiasm, but because of a fundamental misunderstanding of what’s involved. A poorly executed closet isn’t just messy; it’s a structural compromise waiting to happen. As a Structural Integrity Specialist, my job is to ensure things last. This isn’t about aesthetics; it’s about building something that can handle the weight and stresses of daily use. So, let’s talk about how to avoid the most common pitfalls and actually create a functional, safe, and - dare I say - pleasant closet space.
The Illusion of ‘Easy’
The internet is full of videos promising a closet makeover in an afternoon. They’ll show you how to install shelves with a single screw, or build a custom door with minimal effort. That’s the illusion. Building a closet, even a simple one, requires more than just a screwdriver and a roll of drywall tape. It’s about understanding load-bearing walls, proper framing techniques, and the importance of securing everything properly. Trying to cut corners will almost always result in problems down the road - sagging shelves, wobbly doors, and the nagging feeling that something isn’t quite right. Let me be clear: shortcuts are rarely, if ever, a good idea when it comes to structural work.
Assessment - It's More Than Just Measuring
Before you even think about buying lumber or drywall, you need a thorough assessment of the space. This isn’t just about measuring the width and depth of the closet. You need to determine the existing structure. Is the closet built into a load-bearing wall? If so, you cannot simply remove a section of drywall and build a new shelf. That’s a recipe for disaster. A load-bearing wall is designed to support the weight of the entire house, and removing that support will compromise the structural integrity of the building.
How to check for a load-bearing wall: Look for studs running vertically in the wall. If you remove drywall, you’ll expose the studs. If the studs are spaced closely together and run the entire height of the wall, it’s likely a load-bearing wall. Another clue is the presence of a double top plate - a second layer of wood framing at the top of the wall. If you’re unsure, consult a structural engineer. It's a small investment upfront that can save you a huge headache (and potential structural damage) later. I’ve seen projects halted entirely because someone ignored this crucial step. Don’t be that person.
Framing - Laying the Foundation
Once you’ve identified the structure, it’s time to frame the closet. This involves building the walls, shelves, and any other structural elements using lumber. Using the correct size lumber is critical. For shelving, 2x4s are generally sufficient, but for larger shelves or supporting heavier items, you may need to use 2x6s. Always use pressure-treated lumber for any framing that comes into contact with the floor or walls, especially in damp areas.
Proper Fastening: Don’t rely solely on nails. Screws provide a much stronger connection and are essential for securing shelves to the studs. Use at least three screws per shelf, spaced evenly along the length of the stud. And for anything that needs to be exceptionally strong, consider using construction adhesive in addition to screws. It’s a small detail, but it makes a significant difference in the long-term stability of the structure.
Drywall - Smoothing the Surface
After framing, you’ll need to install drywall. Use drywall tape and joint compound to create smooth, seamless seams. Don’t rush this step. Proper taping and mudding are essential for a professional-looking finish and to prevent cracking. Apply multiple coats of joint compound, allowing each coat to dry completely before sanding. A smooth, even surface is crucial for hanging doors and shelves without unsightly bumps or dips.
Ventilation is Key: Ensure adequate ventilation when working with drywall dust. Wear a respirator and work in a well-ventilated area to avoid respiratory irritation. This isn’t just about comfort; it’s about protecting your health.
Doors and Hardware - Functionality and Safety
Choosing the right door and hardware is just as important as the framing and drywall. Consider the weight of the items you’ll be storing in the closet and select a door that can support that weight. Use heavy-duty hinges and rollers to ensure smooth operation and prevent sagging. For sliding doors, ensure the track is properly aligned and lubricated. A poorly installed door can be a safety hazard, so take your time and do it right.
Common Mistakes - And How to Avoid Them
Let’s recap some of the most frequent errors I see in DIY closet projects:
- Ignoring Load-Bearing Walls: (As discussed above - this is non-negotiable.)
- Using Insufficient Framing: Don’t skimp on lumber or fasteners.
- Poor Drywall Taping and Mudding: Take your time and do it right.
- Overloading Shelves: Calculate the weight capacity of your shelves and don’t exceed it.
- Neglecting to Secure Shelves to the Studs: Screws are your friend.
Final Thoughts - Invest in Knowledge and Patience
Building a closet isn’t rocket science, but it is a construction project. Don’t underestimate the importance of proper planning, execution, and attention to detail. If you’re not comfortable with any aspect of the project, don’t hesitate to hire a professional. It’s far better to pay a little extra for a job done right than to risk compromising the structural integrity of your home. A well-built closet is a functional, safe, and organized space that will serve you well for years to come. And that, frankly, is worth the investment.
Start with what you will actually use
With Closet Chaos? Avoid These DIY Errors, the first question is usually not which option looks best on paper. It is which part will make day-to-day life easier, smoother, or cheaper once the novelty wears off.
A lot of options sound great until you picture them in a normal week. If the setup is fussy, the routine is easy to forget, or the maintenance is annoying, the appeal fades quickly.
There is also value in keeping one part of the process deliberately simple. Readers often do better when they identify the one decision that carries the most weight and make that choice carefully before they chase smaller optimizations. That keeps momentum steady and usually prevents the topic from turning into clutter.
Keep This Practical
A useful home update should make the room easier to live in, not just better to photograph. Keep the next project practical, measurable, and easy to maintain after the excitement wears off.