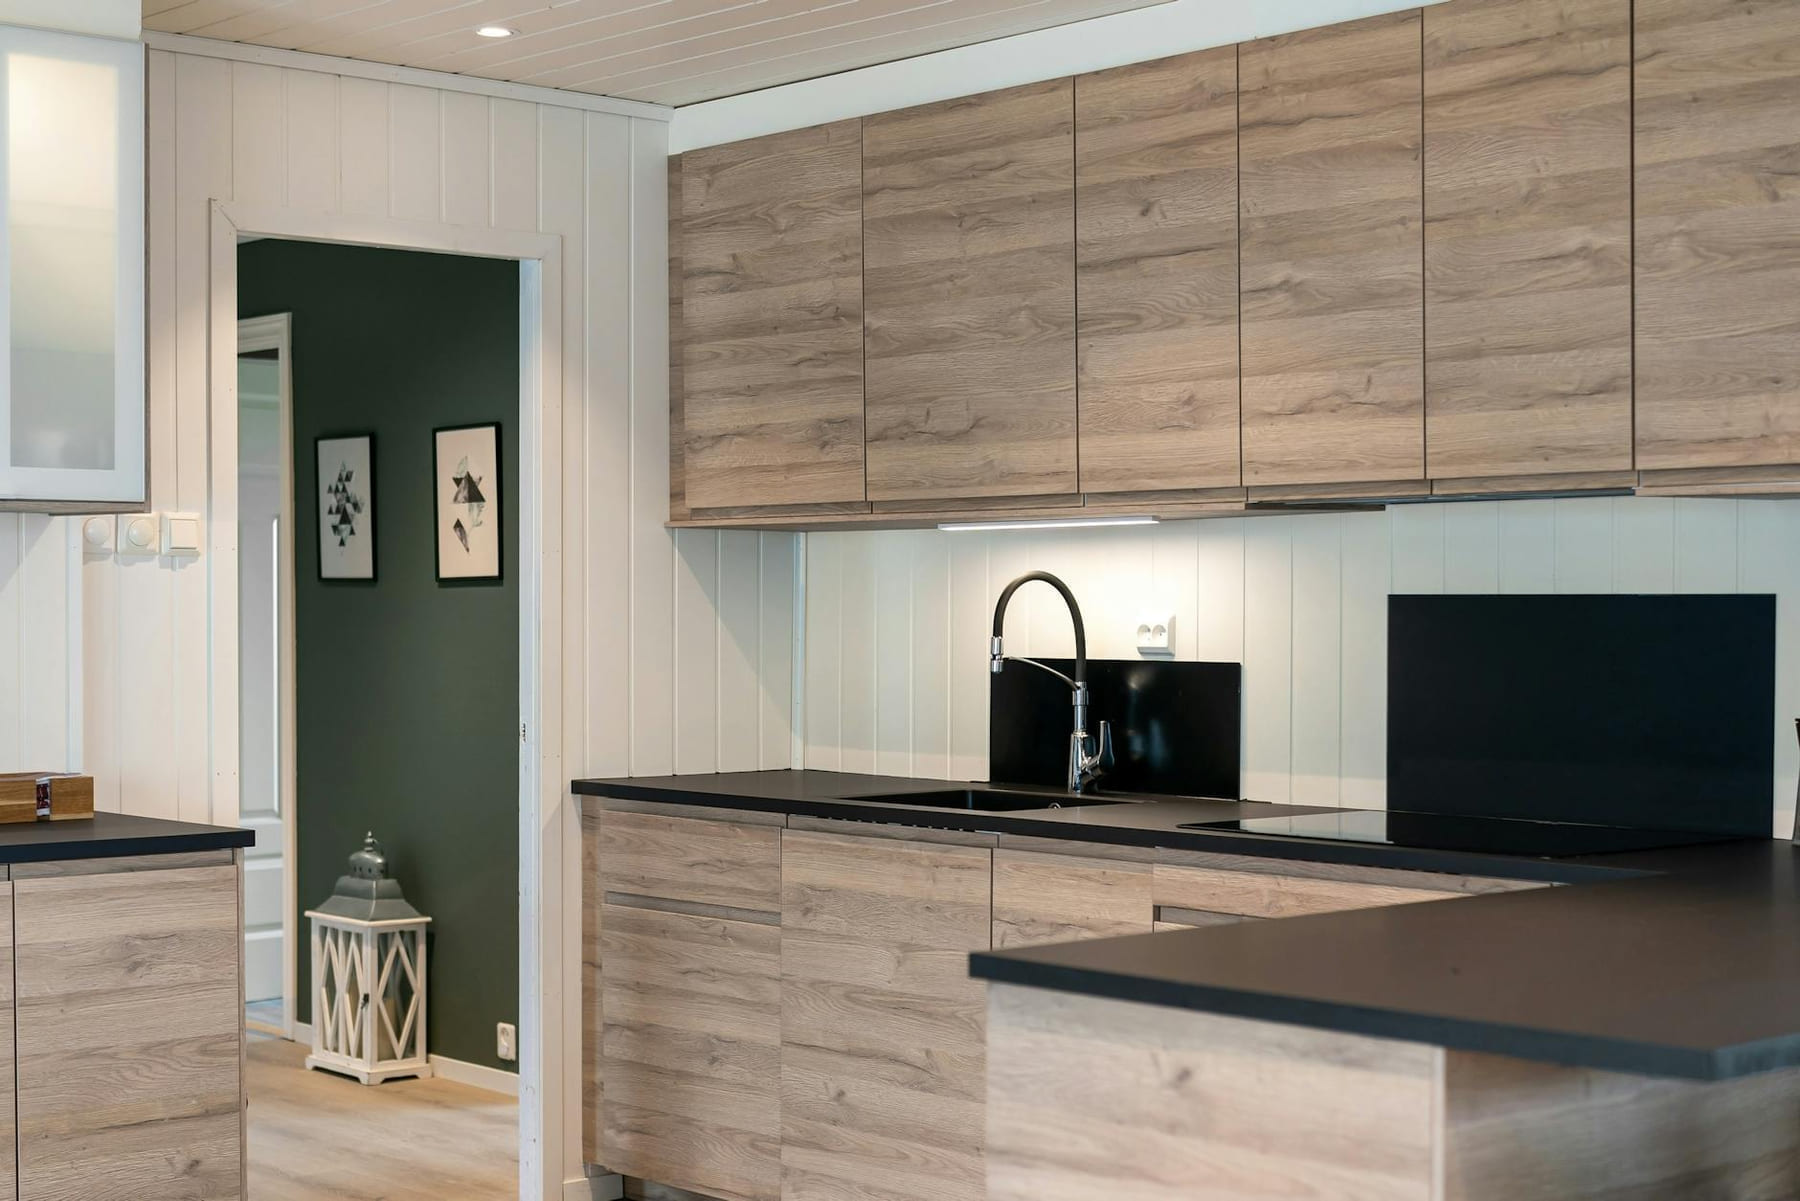
Why a DIY Backsplash? (Backsplash Dreams: Easy DIY)
Backsplash Dreams: Easy DIY can be easier to approach when you start with a few practical basics. Beyond the obvious cost savings, tackling a backsplash project yourself offers a fantastic sense of accomplishment. You get to choose exactly the style you want, tailor it to your kitchen’s existing decor, and learn a new skill. Plus, it’s a surprisingly manageable project for many homeowners, even those who aren’t seasoned DIYers. Think of it as a weekend project that yields a seriously impressive result. Let’s dive into some fantastic options.
Level 1: Super Simple - Peel & Stick Tiles
If you’re looking for the absolute easiest way to get a backsplash upgrade, peel-and-stick tiles are your best friend. These adhesive tiles come in a massive array of styles - subway tiles, geometric patterns, even textured options - and they’re incredibly easy to apply.
- Cost: $20 - $80 (depending on size and quantity)
- Time: 2-4 hours
- Skill Level: Beginner
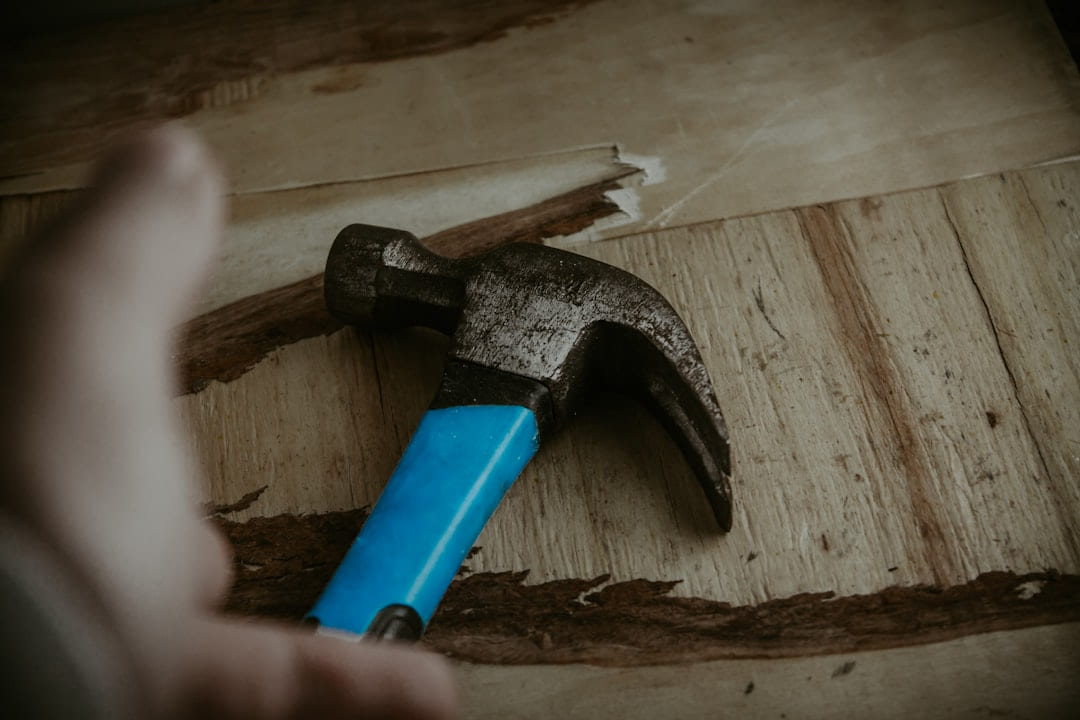
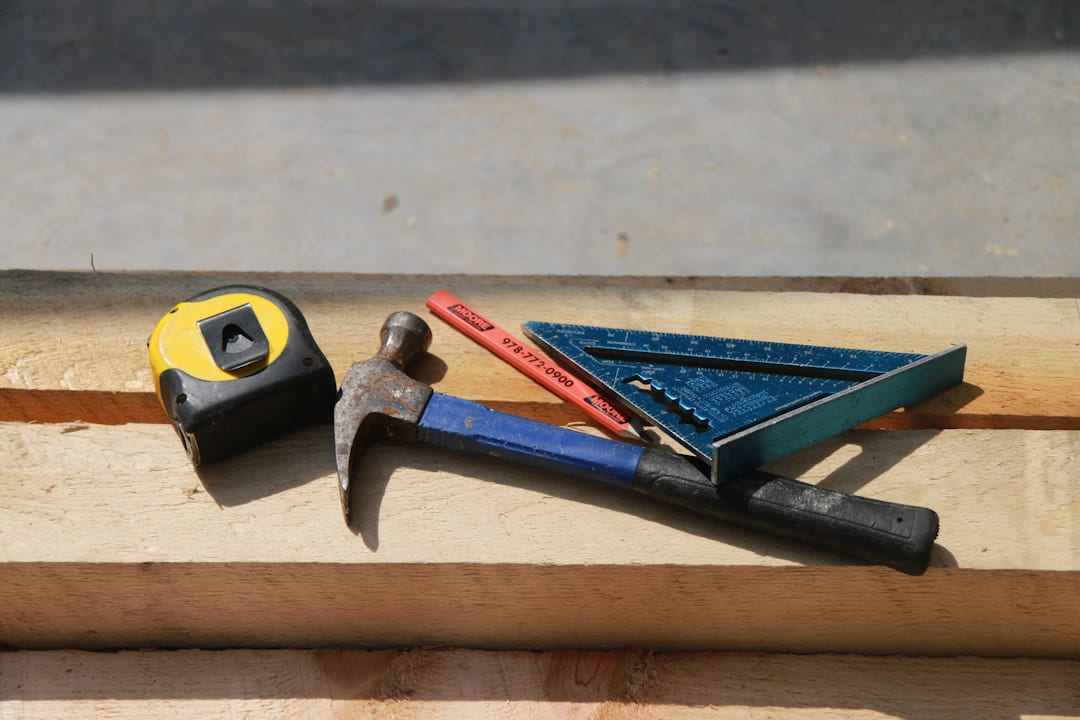
- Tools Needed: Measuring tape, level, utility knife, smoothing tool (a plastic putty knife works great)
Example of a stunning peel-and-stick tile installation.
Level 2: Classic Subway Tile - The Tried & True
Subway tile is a timeless choice for a reason. It’s affordable, versatile, and looks fantastic in almost any kitchen style. While traditionally installed with thin-set mortar and grout, a DIY peel-and-stick version offers a significantly easier route.
- Cost: $50 - $200 (depending on tile size and quantity)
- Time: 4-8 hours
- Skill Level: Beginner to Intermediate
- Tools Needed: Measuring tape, level, utility knife, sponge, grout float (optional), tile spacers
- Tip: Start at the center of the backsplash and work outwards. Use tile spacers to ensure consistent grout lines. For a more professional look, consider using a contrasting grout color. A dark grout really makes the white subway tile pop!
A classic subway tile backsplash - simple, elegant, and always in style.
Level 3: Geometric Tiles - Adding a Bold Statement
Looking to inject some personality into your kitchen? Geometric tiles are a fantastic way to do it. They come in a huge variety of shapes, sizes, and colors, allowing you to create a truly unique backsplash. However, they require a bit more precision during installation.
- Cost: $80 - $300 (depending on tile size and quantity)
- Time: 6-12 hours
- Skill Level: Intermediate
- Tools Needed: All tools from Level 2, plus a tile leveling system (recommended for complex patterns)
- Tip: Plan your layout carefully before you start. Use graph paper or a digital design tool to visualize the pattern. Start with a small section to test your layout before committing to the entire backsplash.
A vibrant geometric tile backsplash - a bold and modern choice.
Level 4: Mosaic Tiles - A Touch of Texture & Detail
Mosaic tiles offer a beautiful, textured look that adds a sophisticated touch to any kitchen. They’re available in a wide range of materials, including glass, ceramic, and stone. Installing mosaics can be a bit more challenging due to their small size, but the results are worth it.
- Cost: $100 - $400 (depending on tile size and quantity)
- Time: 8-16 hours
- Skill Level: Intermediate to Advanced
- Tools Needed: All tools from Level 2, plus a mosaic tile adhesive applicator (highly recommended)
- Tip: Work in small sections and use a level to ensure the tiles are aligned. Consider using a tile leveling system for larger mosaics. Allow ample drying time between sections.
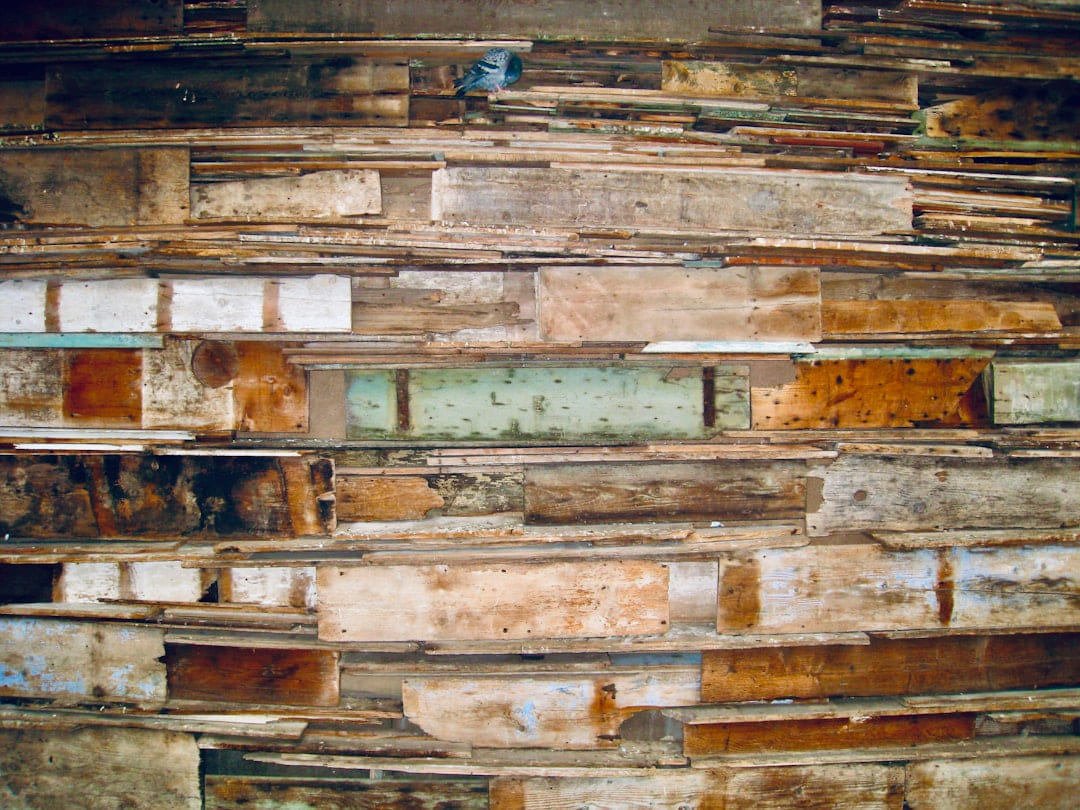
A stunning mosaic tile backsplash - adding depth and texture to your kitchen.
Beyond Tiles: Other DIY Backsplash Ideas
Don’t limit yourself to traditional tiles! Here are a few other creative DIY backsplash ideas:
- Peel & Stick Wallpaper: Choose a waterproof wallpaper designed for kitchens.
- Beadboard: Install beadboard for a farmhouse-style look.
- Shiplap: Similar to beadboard, shiplap offers a rustic charm.
- Stone Veneer: Create a natural, luxurious look with stone veneer. (Requires more experience and potentially mortar.)
Important Considerations Before You Start
Before you dive in, remember these crucial steps:
- Surface Preparation: Clean, repair, and prime the existing surface.
- Layout Planning: Carefully plan your layout to minimize cuts and ensure a balanced look.
- Safety First: Wear appropriate safety gear, including eye protection and gloves.
- Read Instructions: Always follow the manufacturer’s instructions for the adhesive or tiles you’re using.
A DIY backsplash project is a rewarding way to personalize your kitchen and save money. With careful planning, the right tools, and a little patience, you can achieve a stunning result that you’ll be proud of. Happy tiling!
Pick the easiest win first
Most people get better results with Backsplash Dreams: Easy DIY Styles when they narrow the decision to one real problem. That could be saving time, trimming cost, reducing friction, or making the routine easier to keep up.
This usually gets easier once you make a short list of priorities. A tighter list tends to produce better decisions than trying to solve every possible problem at once.
Another useful filter is asking what you would still recommend if the budget got tighter, the schedule got busier, or the setup had to be easier for someone else to manage. The answers to that question usually reveal which advice is durable and which advice only works under ideal conditions.
The tradeoff most people notice late
One common mistake with Backsplash Dreams: Easy DIY Styles is expecting every option to solve the whole problem. In reality, some choices are better for convenience, some for reliability, and some simply for keeping the budget under control.
Before spending more, it is worth checking the setup, upkeep, and learning curve. Small hassles matter here because they are usually what decide whether something stays useful or gets ignored.
It is easy to underestimate how much clarity comes from removing one unnecessary layer. In practice, trimming one complication often does more for Backsplash Dreams: Easy DIY Styles than adding one more feature, one more product, or one more clever workaround.
What makes this easier to live with
The options that age well are usually the ones that are easy to repeat. Reliability and low hassle often matter more than the most impressive-looking feature list.
In a topic like Home improvement, manageable almost always beats impressive. If something is simple enough to keep using, it is usually doing more real work for you.
Readers usually get better results when they treat advice as something to test and refine, not something to obey perfectly. That mindset creates room for real judgment, which is often the difference between content that sounds smart and guidance that is actually useful.
How to avoid extra hassle
When you are deciding what to do next, aim for the option that reduces friction and gives you a clearer read on what matters most. That is usually how Backsplash Dreams: Easy DIY Styles becomes more useful instead of more complicated.
Leave a little room to adjust as you go. A setup that works in one budget range, season, or routine might need a small change later, and that is usually normal rather than a sign you got it wrong.
If this topic still feels crowded or overcomplicated, that is usually a sign to narrow the decision, not a sign that you need more noise. One careful adjustment, followed by honest observation, tends to teach more than another round of abstract tips.
Keep This Practical
A useful home update should make the room easier to live in, not just better to photograph. Keep the next project practical, measurable, and easy to maintain after the excitement wears off.
Tools Worth A Look
These recommendations are most useful if you want tools, materials, or organizing help that support a cleaner DIY result.
- Solar Lights Outdoor, 106 LED 3000LM Solar Powered Motion Sensor Flood Lights with Remote, Dusk to Dawn Led Solar Security Wall Lights with 16.5Ft CableSolar Fence Lights Outdoor - 2700/4000/6000K 3 Mode, 8 Pack Solar Fence LightsEvermagin 29" Coat Rack Wall Mount with Shelf, 4 in 1 Wall Mounted Coat and Key HangerDwersty One Way Daytime Window Privacy Film See Out Not in, Window Tint8-In-1 Multi Blades Hand Saw, Drywall Cutter
Some of the links on this page are Amazon affiliate links, which means I may earn a small commission if you make a purchase through them. As an Amazon Associate, I earn from qualifying purchases.
Related ReadingMore from Hammer & Home
Backsplash Dreams: DIY vs. Easy Swaps
DIY vs. Easy Swaps can be easier to approach when you start with a few practical basics.
Backsplash Blues? DIY Fixes You Need
Ideas Troubleshooting - Hammer & Home DIY Backsplash Ideas Troubleshooting: Don’t Let Your Dream Turn into a Disaster So, you’re dreaming of a stunning, custom ba...
Backsplash Bliss: Step-by-Step DIY
Backsplash Bliss: Step-by-Step DIY breaks the project into more practical home-upgrade decisions so you can improve the space without overcomplicating the work.