DIY Backsplash Ideas Checklist: Transform Your Space on a Budget
Your DIY can be easier to approach when you start with a few practical basics. A fresh, stylish backsplash can completely revitalize a kitchen or bathroom, adding a pop of personality and boosting the overall aesthetic. While professional installation offers a seamless, polished result, it can quickly eat into your budget. Fortunately, installing a DIY backsplash is a surprisingly achievable project for the handy homeowner. This guide will walk you through everything you need to know, from gathering the right tools to choosing the perfect tile, and provide a detailed checklist to ensure a successful and satisfying outcome. Let’s dive in!
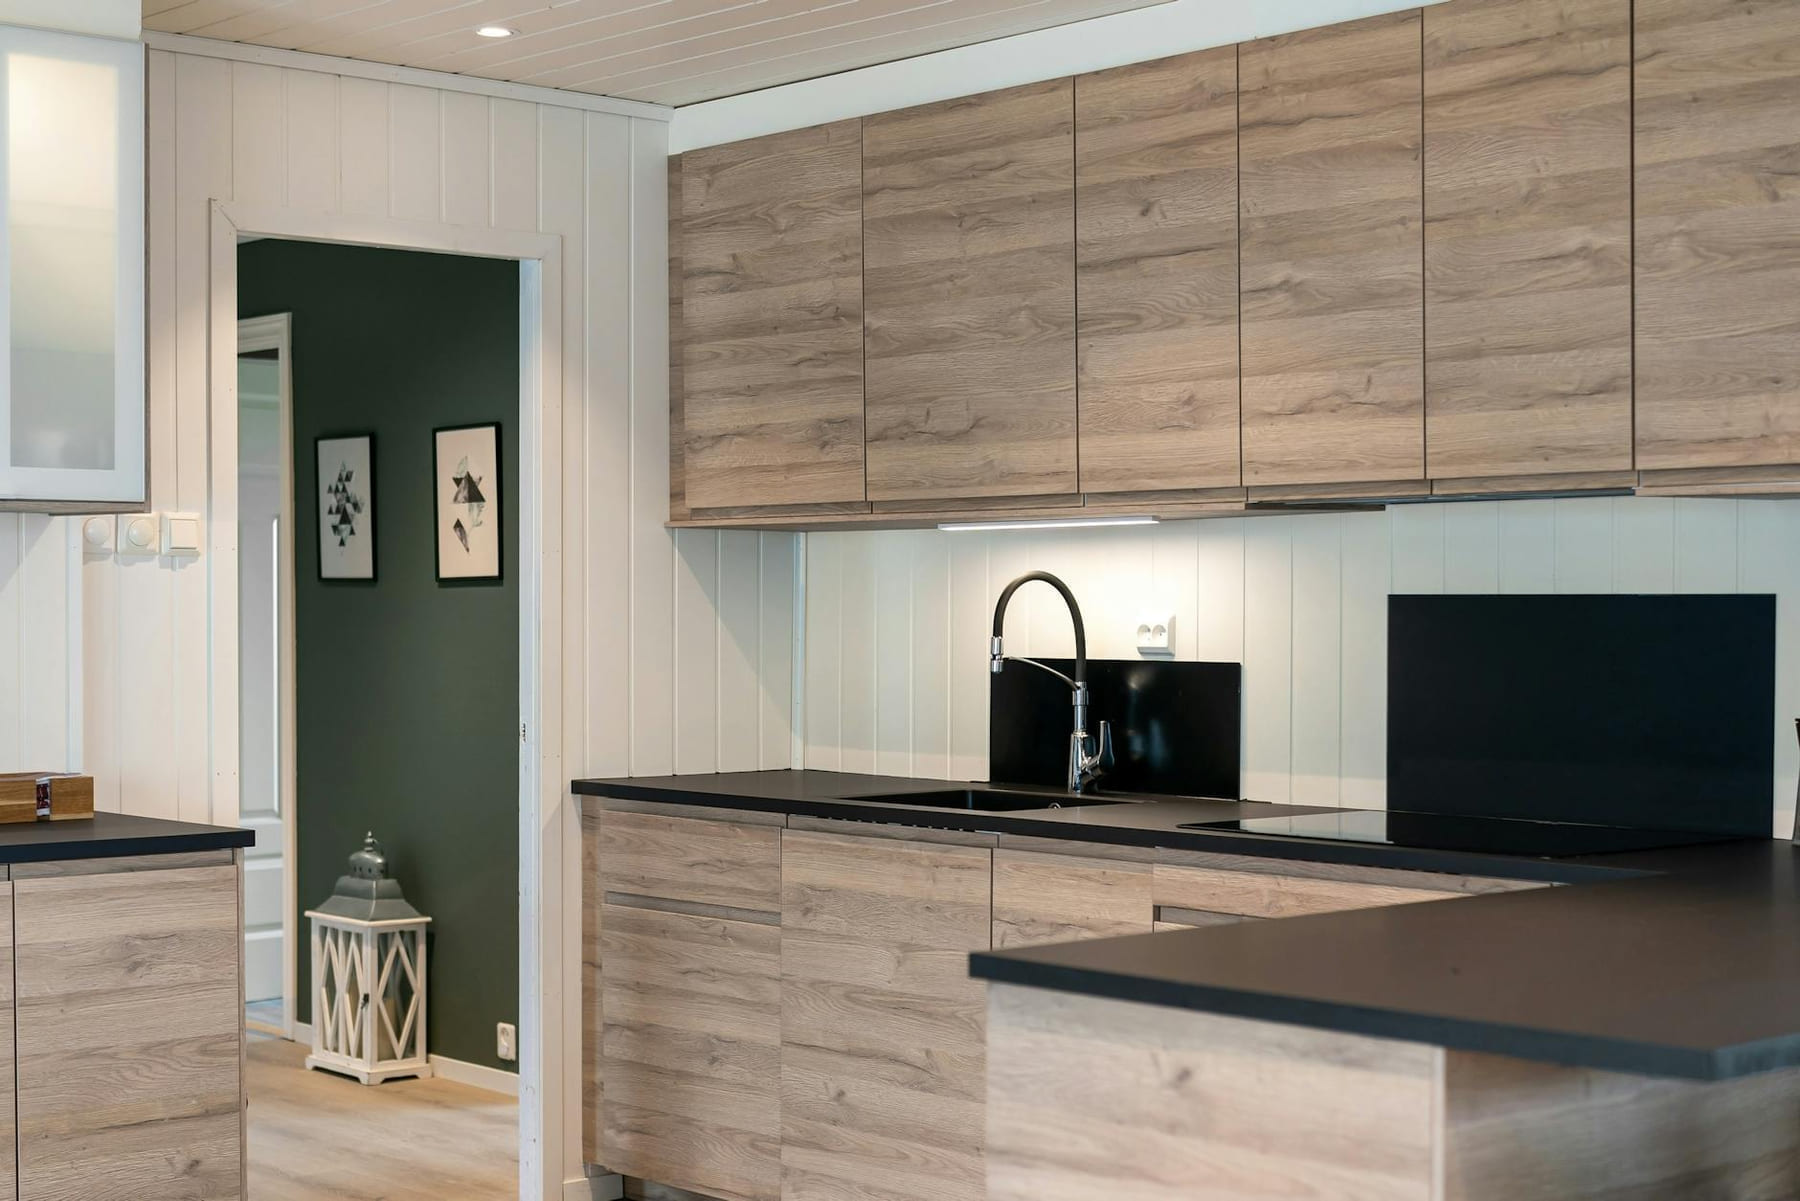
Understanding the Scope & Choosing Your Tile
Before you even think about buying tools, it’s crucial to understand the size of the area you’re tackling. A small backsplash above a sink or stove is vastly different from a full wall. Accurately measuring your space is the first step. Don’t forget to account for outlets, switches, and any existing fixtures. Once you know the dimensions, you can start exploring tile options.
Tile comes in an incredible array of styles, materials, and price points. Ceramic is a popular, budget-friendly choice, offering a wide range of colors and patterns. Porcelain is denser and more durable, making it ideal for high-moisture areas like bathrooms. Glass tiles provide a sleek, modern look, while natural stone (like slate or travertine) adds a touch of rustic elegance. Consider the overall style of your kitchen or bathroom - a bold, patterned tile might work wonders in a contemporary space but could overwhelm a traditional one. Don’t forget to factor in grout color - it can dramatically affect the final appearance. A darker grout will highlight the tile, while a lighter grout will create a more subtle effect.
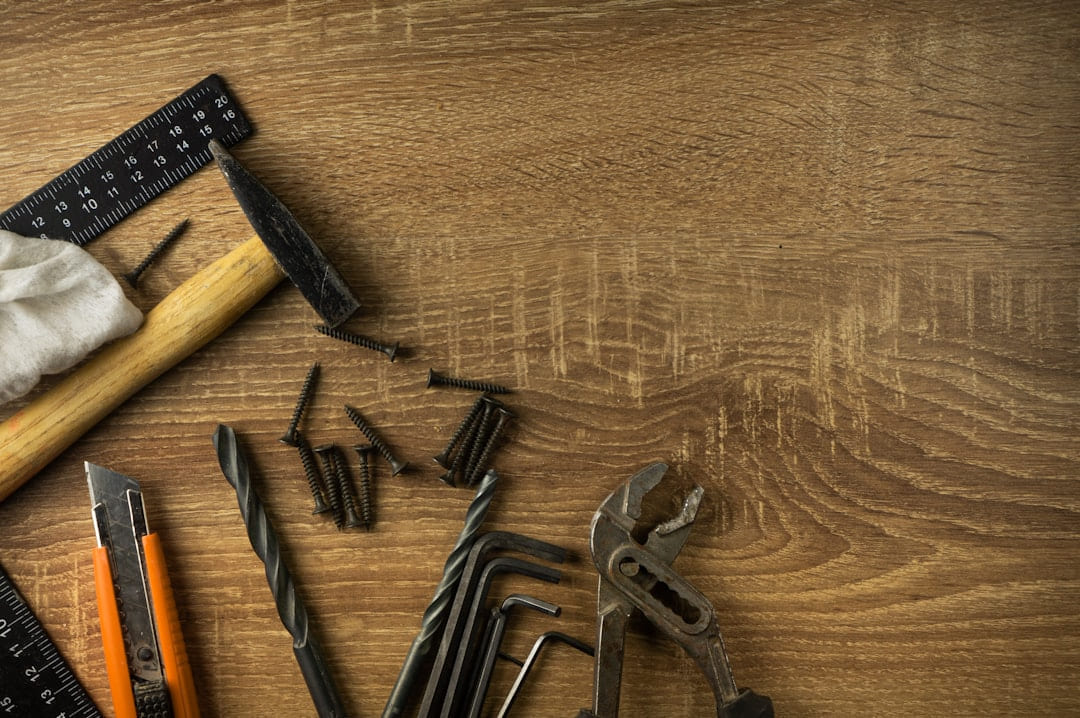
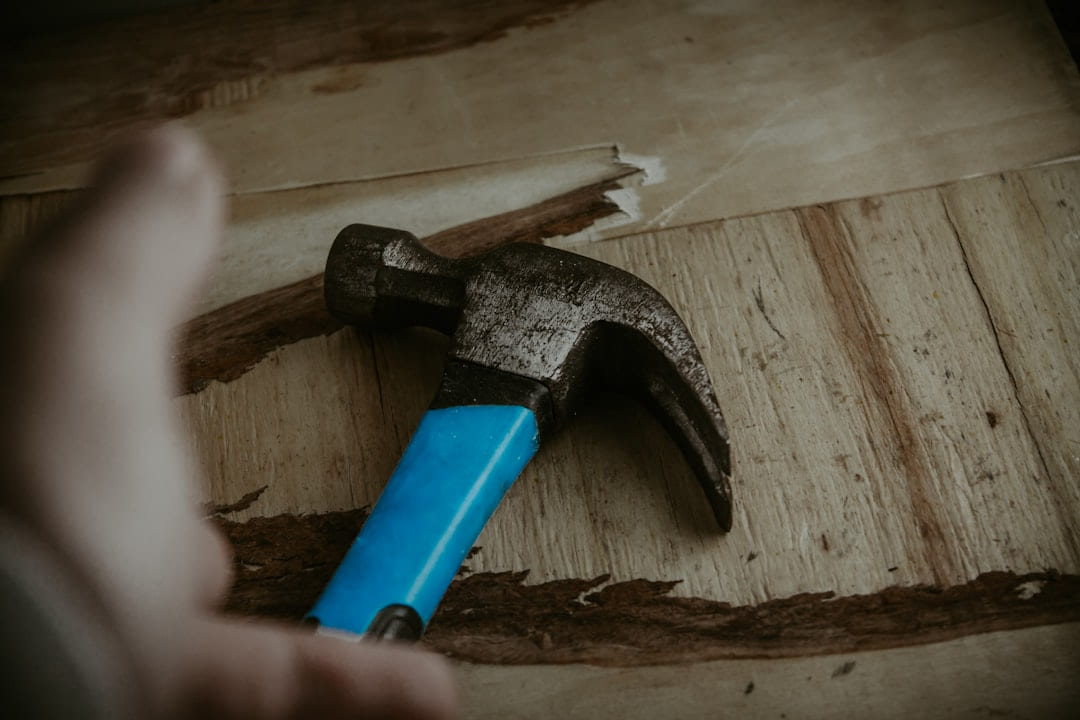
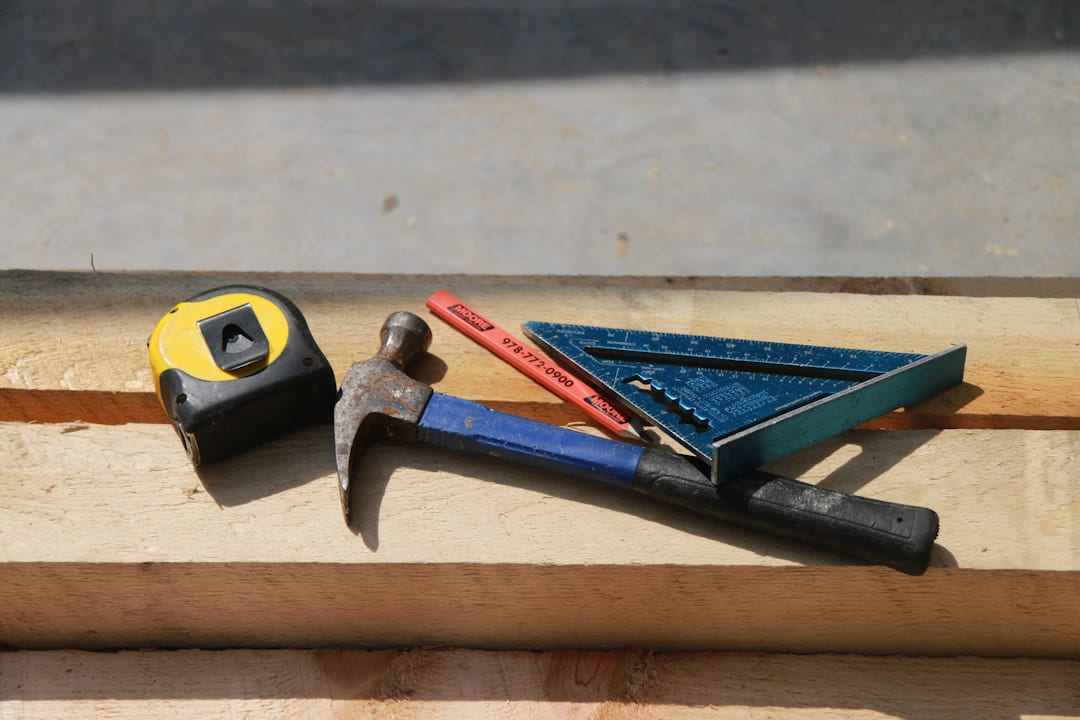
The Essential DIY Backsplash Toolkit
Now, let’s talk tools. You don’t need a professional-grade workshop, but having the right equipment will make the job significantly easier and produce a better result. Here’s a breakdown of the must-have items:
- Utility Knife: $5 - $15 - Essential for scoring and cutting tile. Invest in a good quality one with replaceable blades.
- Spackle: $10 - $20 - For filling in gaps and leveling imperfections on the wall.
- Sandpaper: $5 - $10 - Various grits (120, 220) for smoothing patched areas and preparing the surface for tile adhesive.
- Level: $15 - $30 - Absolutely crucial for ensuring your tiles are straight and even. A torpedo level is a great option.
- Tile Cutter: $30 - $80 - A wet saw is the gold standard for accurate tile cuts, but a snap cutter is a more affordable option for straight cuts.
- Notched Trowel: $15 - $35 - The notch size determines the amount of adhesive applied. A 4-inch notched trowel is a good general-purpose size.
- Sponges: $5 - $10 - For cleaning up excess adhesive and grout.
- Grout Float: $10 - $20 - Used to apply grout and ensure it fills all the spaces between the tiles.
- Safety Glasses & Gloves: $10 - $20 - Protect your eyes and hands!
Optional but Recommended: Measuring tape, painter's tape, drop cloths, mixing bucket, rubber mallet, tile spacers.
Step-by-Step Guide to Installing Your DIY Backsplash
- Surface Preparation: This is arguably the *most* important step. Clean the existing wall thoroughly, removing any grease, dirt, or loose paint. Fill in any holes or cracks with spackle, let it dry completely, and sand it smooth.
- Applying Adhesive: Using your notched trowel, spread a thin, even layer of tile adhesive onto a small section of the wall.
- Setting the Tiles: Carefully place each tile onto the adhesive, using tile spacers to maintain consistent spacing. Press firmly to ensure good contact.
- Cutting Tiles: Use your tile cutter to make precise cuts as needed. For more intricate cuts, a wet saw is highly recommended.
- Grouting: Once the adhesive has dried completely (usually 24-48 hours), apply grout to the spaces between the tiles using a grout float. Work diagonally across the tiles to ensure full coverage.
- Cleaning & Sealing: Wipe away excess grout with a damp sponge, rinsing frequently. Allow the grout to cure according to the manufacturer’s instructions, then apply a grout sealer to protect it from stains and moisture.
Cost Breakdown & Professional vs. DIY
As mentioned earlier, the cost of a DIY backsplash can vary significantly depending on the tile choice and tools. As a rough estimate, you can expect to spend between $120 and $300 on materials and tools. However, this is just a starting point. High-end tiles and specialized tools will naturally increase the cost.
Hiring a professional installer typically costs between $500 and $2000, depending on the size of the area and the complexity of the design. Factors like intricate patterns, curved walls, or the need to remove existing fixtures can significantly increase the price. For a smaller backsplash, the cost of materials and tools often outweighs the cost of professional installation. Consider the time and effort involved in DIY - it’s a rewarding project, but it does require patience and attention to detail.
Beyond the Basics: Creative Backsplash Ideas
Don’t limit yourself to traditional subway tiles! Here are a few creative ideas to spark your imagination:
- Geometric Patterns: Use different shapes and sizes of tiles to create a stunning geometric design.
- Moroccan Tiles: Add a touch of exotic flair with intricate Moroccan tiles.
- Glass Mosaic Tiles: Create a shimmering effect with glass mosaic tiles.
- Penny Tile Backsplashes: A classic and charming choice, especially in vintage kitchens.
Conclusion
Installing a DIY backsplash is a rewarding project that can transform your kitchen or bathroom on a budget. By following these steps and taking your time, you can achieve a beautiful and personalized look. Don't be intimidated - it’s more manageable than you might think! Remember to prioritize surface preparation and accurate measurements. With a little planning and effort, you’ll be enjoying your stunning new backsplash in no time. Ready to transform your space? Start planning your DIY backsplash today!
Keep This Practical
Home projects get more satisfying when the next step is realistic for your budget, time, and skill level. Choose one improvement you can finish cleanly instead of starting three at once.
Tools Worth A Look
The picks here are meant to support useful home improvements, not just impulse project shopping.
- 4G LTE Cellular Security Camera Wireless OutdoorKingTool 325 Piece Home Repair Tool Kit, General Home/Auto Repair Tool Set, Toolbox Storage Case with Drawer, General Household Tool KitAmazon Smart Plug, Works with Alexa, Simple Setup, Endless PossibilitiesDual Shower Heads Shower System with 16" Ceiling Mounted Rain Shower Head and 6" Wall Mounted HeadRing Battery Doorbell Plus, Home or business security, Head-to-Toe HD+ Video, motion detection & alerts, and Two-Way Talk
Some of the links on this page are Amazon affiliate links, which means I may earn a small commission if you make a purchase through them. As an Amazon Associate, I earn from qualifying purchases.
Related ReadingMore from Hammer & Home
Backsplash Dreams: DIY vs. Easy Swaps
DIY vs. Easy Swaps can be easier to approach when you start with a few practical basics.
Backsplash Blues? DIY Fixes You Need
Ideas Troubleshooting - Hammer & Home DIY Backsplash Ideas Troubleshooting: Don’t Let Your Dream Turn into a Disaster So, you’re dreaming of a stunning, custom ba...
Backsplash Bliss: Step-by-Step DIY
Backsplash Bliss: Step-by-Step DIY breaks the project into more practical home-upgrade decisions so you can improve the space without overcomplicating the work.