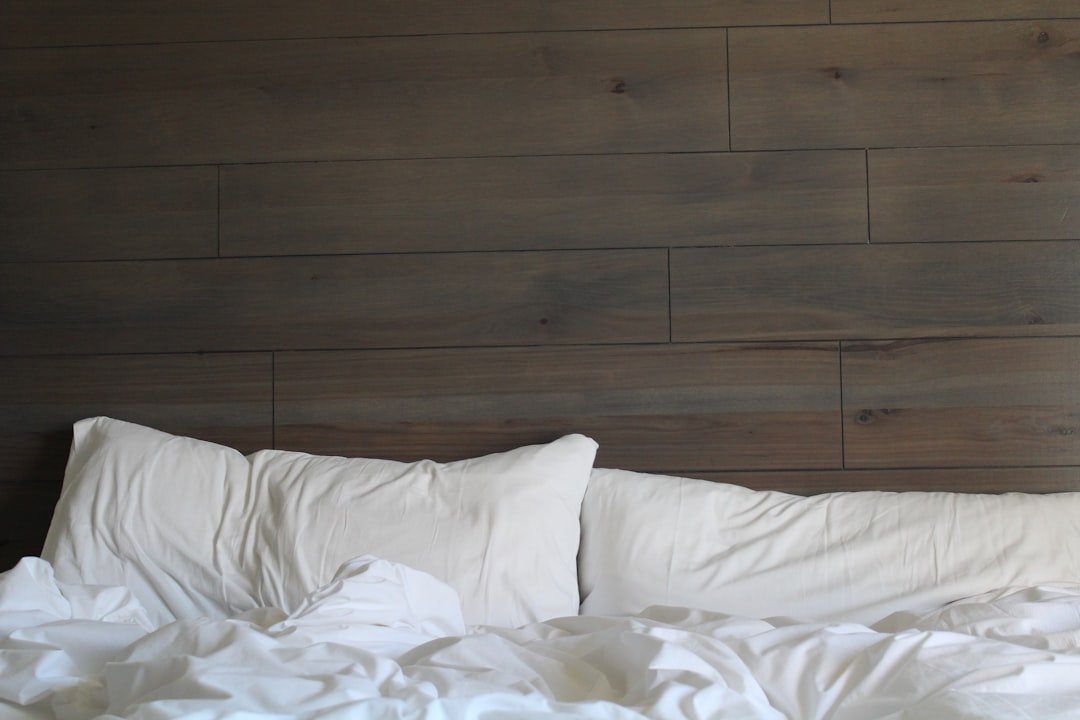
DIY Headboards: Your Questions can be easier to approach when you start with a few practical basics.
- Consider room proportions. A small room needs a more streamlined headboard.
- Research standard headboard sizes: Twin (39” wide), Full (54” wide), Queen (60” wide), King (76” wide), California King (72” wide). Custom sizing is always an option if you have specific needs.
Easy DIY Headboard Projects You Can Tackle Today (DIY Headboards: Your Questions)
- Pallet Headboard: (4-6 hours) - This is a fantastic way to upcycle and create a rustic look. Sanding, staining, and adding a simple upholstered cushion are all you need.
- Reclaimed Wood Headboard: (6-8 hours) - Scour local construction sites or salvage yards for interesting wood pieces. A little sanding and a coat of paint will transform them into a beautiful statement piece.
- Fabric-Covered Headboard (Simple Box Frame): (3-5 hours) - This is a classic for a reason! Building a simple box frame and covering it with fabric is a quick and easy way to add personality to your bed.
- Floating Headboard (using plywood): (5-7 hours) - A modern and minimalist option, a plywood headboard creates a clean, slightly elevated look. [Image: A collage showing examples of each of the four headboard styles mentioned above - Pallet, Reclaimed Wood, Fabric-Covered, Floating.]
Gathering Your Supplies: What You’ll Need to Get Started
Let's be realistic - DIY projects require tools. If you’re a complete beginner, don’t feel overwhelmed. You can definitely accomplish these projects with a few essential tools and materials. Here’s a basic list:
- Tools: Saw (hand saw is fine for some projects, a power saw speeds things up), Drill, Staple Gun, Measuring Tape, Sandpaper, Safety Glasses.
- Materials: Wood (various types - plywood, pine, reclaimed wood), Fabric, Screws, Nails, Staples, Foam Padding, Stain/Paint, Wood Glue. Expect to spend around $30-$75 on materials for the pallet headboard, $50-$100 for the reclaimed wood, $40-$80 for the fabric-covered headboard, and $30-$60 for the floating headboard. Don’t be afraid to ask local construction sites for scrap wood - you might be surprised at what you can find!
Let’s Build It: A Step-by-Step Guide to a Pallet Headboard
Okay, let’s dive into a specific project. The pallet headboard is a great starting point because it’s relatively inexpensive and easy to execute. 1. Source Your Pallet: Find a clean, sturdy pallet. Check local businesses - grocery stores and hardware stores are often good sources. 2. Clean and Sand: Thoroughly clean the pallet with soap and water. Then, sand down any rough edges or splinters. Safety glasses are a must! 3. Reinforce (if needed): If the pallet feels unstable, add extra screws to reinforce the joints. 4. Upholstery: Cut a piece of foam padding slightly larger than the pallet's dimensions. Staple the padding securely to the top of the pallet. 5. Fabric Covering: Cut your fabric, leaving extra for wrapping around the edges. Staple the fabric to the back of the pallet, pulling it taut as you go. Fold the edges neatly and staple them down. [Image: Step-by-step photos illustrating each of the five steps above.]
Got Questions? Your DIY Headboard FAQs Answered
- How much does a DIY headboard cost? Costs vary depending on materials, but you can easily build a beautiful headboard for under $100.
- What tools do I need if I’m a complete beginner? A hand saw, drill, staple gun, measuring tape, and sandpaper are all you really need to get started.
- How do I choose the right fabric? Consider durability - linen and canvas are good choices. Pattern should complement your bedroom's color scheme.
- Can I make a headboard without any woodworking experience? Absolutely! Focus on projects like the pallet headboard or the fabric-covered headboard.
- How do I attach the headboard to the bed frame? You can use brackets, screws, or even heavy-duty adhesive, depending on the type of bed frame you have.
Tips for Success & Troubleshooting
Don't let a few hiccups derail your project. Here are a few tips to help you stay on track: * Measure twice, cut once. Seriously, this is golden advice for any DIY project.
- Take your time - there’s no rush!
- Don’t be afraid to ask for help from a friend or family member.
- If your fabric isn’t stretching evenly, a quick steam can often do the trick.
Making it Happen: Tips for a Smooth DIY Experience
DIY projects are all about the joy of creating something yourself. Remember to embrace the process, even if things don’t go exactly as planned. A little imperfection can add character and charm! Conclusion Creating a DIY headboard is a fantastic way to personalize your bedroom, save money, and feel a real sense of accomplishment. It doesn't have to be complicated - with a little creativity and effort, you can transform your bedroom into a space you truly love. Don’t be afraid to experiment and have fun! And when you’re finished, be sure to share your creations with us on social media using #HammerAndHomeHeadboard - we'd love to see what you come up with! --- How does this draft feel?
Pick the easiest win first
Most people get better results with DIY Headboards: Your Questions when they narrow the decision to one real problem. That could be saving time, trimming cost, reducing friction, or making the routine easier to keep up.
This usually gets easier once you make a short list of priorities. A tighter list tends to produce better decisions than trying to solve every possible problem at once.
Another useful filter is asking what you would still recommend if the budget got tighter, the schedule got busier, or the setup had to be easier for someone else to manage. The answers to that question usually reveal which advice is durable and which advice only works under ideal conditions.
The tradeoff most people notice late
One common mistake with DIY Headboards: Your Questions is expecting every option to solve the whole problem. In reality, some choices are better for convenience, some for reliability, and some simply for keeping the budget under control.
Before spending more, it is worth checking the setup, upkeep, and learning curve. Small hassles matter here because they are usually what decide whether something stays useful or gets ignored.
It is easy to underestimate how much clarity comes from removing one unnecessary layer. In practice, trimming one complication often does more for DIY Headboards: Your Questions than adding one more feature, one more product, or one more clever workaround.
Keep This Practical
The best DIY upgrades are the ones you will still appreciate six months from now. Prioritize the project that improves function first, then let style follow with less guesswork.
Tools Worth A Look
If you are moving from ideas to an actual home project, the products below are the closest practical fit.
- Evermagin 29" Coat Rack Wall Mount with Shelf, 4 in 1 Wall Mounted Coat and Key HangerAmazon Smart Plug, Works with Alexa, Simple Setup, Endless PossibilitiesCARPETNAL 30 Inch Bathroom Vanity with Sink, Modern Fluted Bathroom Vanity with SinkHOOBRO Over The Toilet Storage, 3-Tier Bathroom Organizer Shelf Over ToiletTuffenough Solar Outdoor Lights 2500LM 210 LED Security Lights with Remote Control,3 Heads Motion Sensor Lights, IP65 Waterproof,270° Wide Angle
Some of the links on this page are Amazon affiliate links, which means I may earn a small commission if you make a purchase through them. As an Amazon Associate, I earn from qualifying purchases.
Related ReadingMore from Hammer & Home
Easy Headboards: DIY for Beginners
Let’s be clear about something right off the bat. You’ve got a bedroom that needs a refresh, but the thought of tackling a major renovation sends shivers down your.
Budget Headboards: Easy DIY Ideas
DIY Headboard Ideas on a Budget: Sadie Flynn’s Guide Budget Headboards: Easy DIY can be easier to approach when you start with a few practical basics. Let’s be.
Home Improvement Checklist: Your Project Prep
is easier to make sense of when you break it down into the part that matters most first. Instead of chasing every option at once, it usually helps to.