1. Underestimating the Scope & Budget
This is, without a doubt, the most frequent mistake. It’s tempting to look at a few inspiration photos online and think, “I can totally do that!” But a quick Pinterest board doesn’t reveal the hours of labor, the specialized tools, or the unexpected expenses that can arise. Before you even think about pulling out a tile, create a detailed budget. Include everything: materials (tile, fixtures, paint, flooring, etc.), tools (you might need to rent some), permits (check local regulations!), and a contingency fund - at least 10-15% - for unforeseen issues.
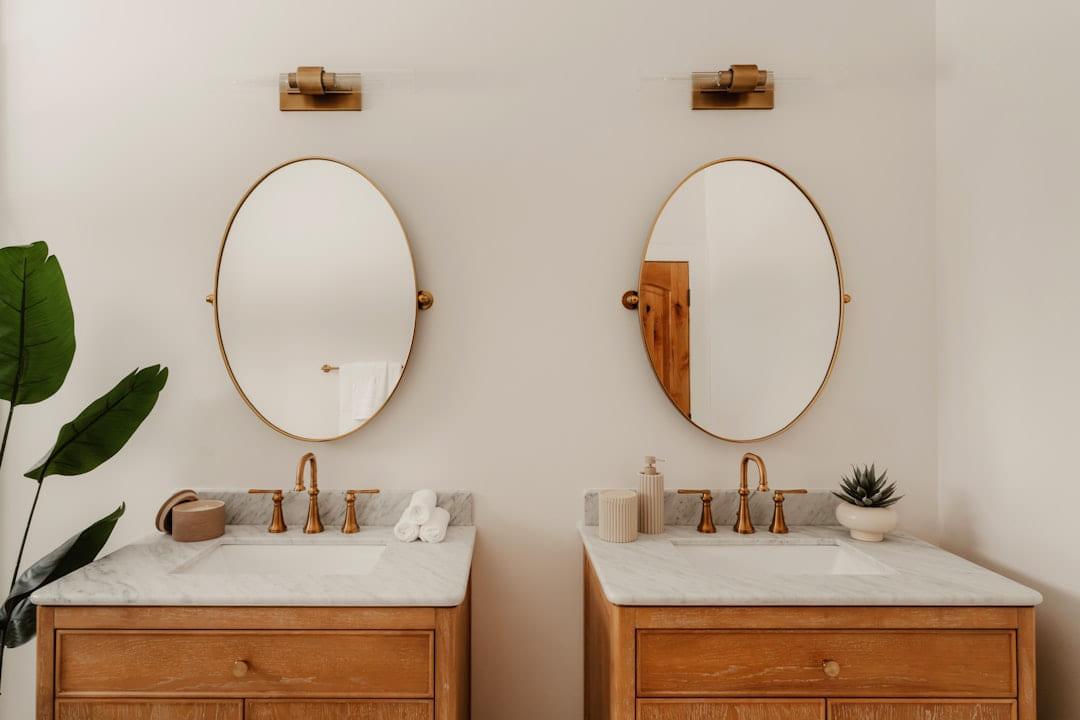
Example: A simple vanity replacement might seem like a $200-300 project. However, adding new plumbing, electrical work for under-cabinet lighting, and a higher-end vanity can easily push the cost to $800-$1500. Don’t forget to factor in the cost of demolition and disposal of the old vanity.
2. Ignoring Plumbing & Electrical Work
Bathroom plumbing and electrical work are not DIY-friendly for beginners. Water and electricity are a dangerous combination. Unless you’re a qualified plumber or electrician, it's best to leave these tasks to the professionals. Incorrectly installed plumbing can lead to leaks, water damage, and mold growth - costly problems that can quickly escalate. Similarly, faulty wiring poses a serious fire hazard.
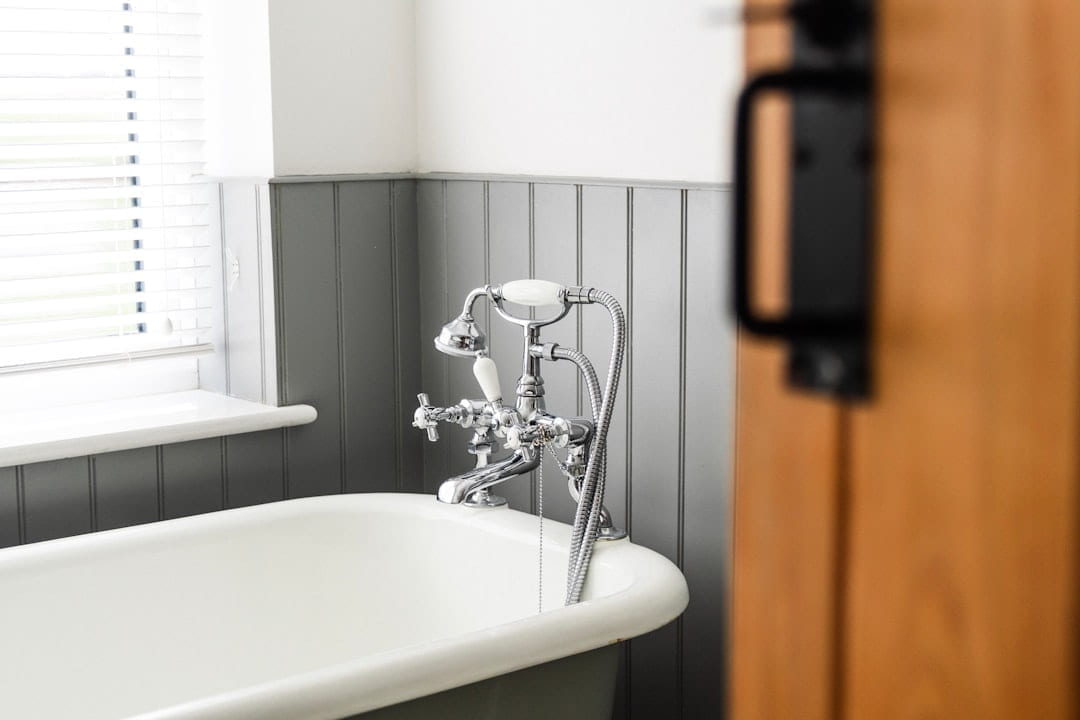
Practical Tip: If you're tackling a small plumbing project (like replacing a faucet), research the specific model thoroughly and watch multiple tutorial videos. However, if you're unsure at any point, stop and call a professional. It’s far cheaper to hire a plumber than to repair water damage.
3. Choosing the Wrong Materials
Selecting the right materials is crucial for both aesthetics and longevity. Don’t just pick something because it looks good - consider its durability, water resistance, and suitability for the specific application. Using cheap tile in a shower area, for example, will likely crack and chip quickly.
Here’s a breakdown of material considerations:
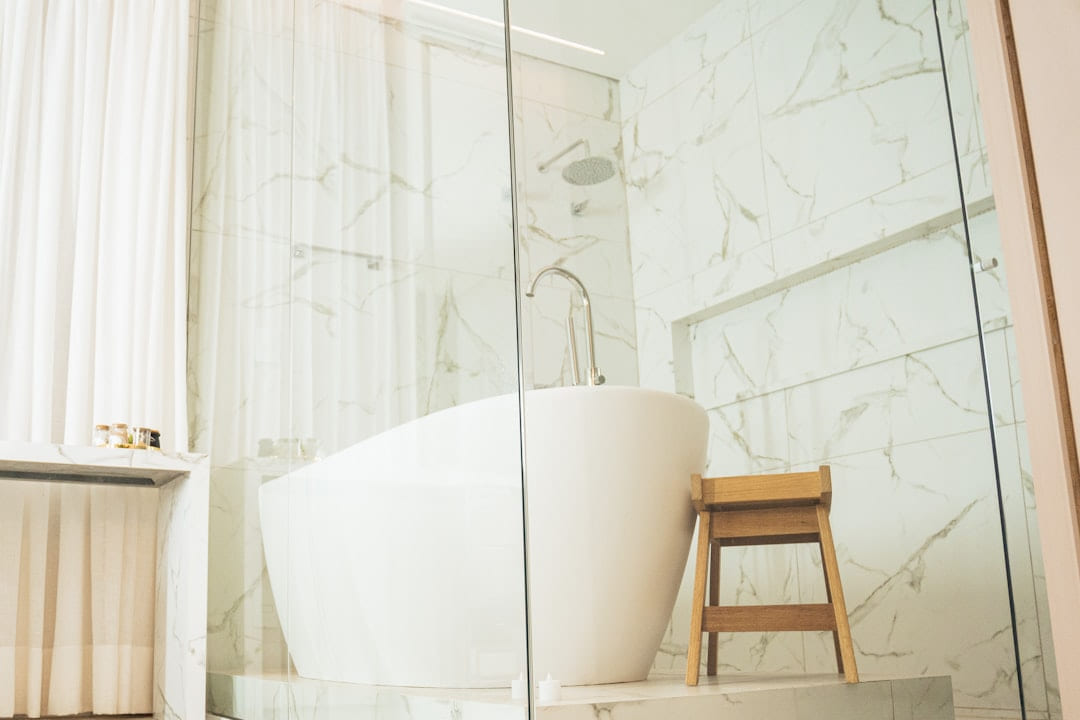
- Tile: Porcelain is generally the best choice for bathrooms due to its water resistance and durability. Ceramic tile is more affordable but less resistant to water damage.
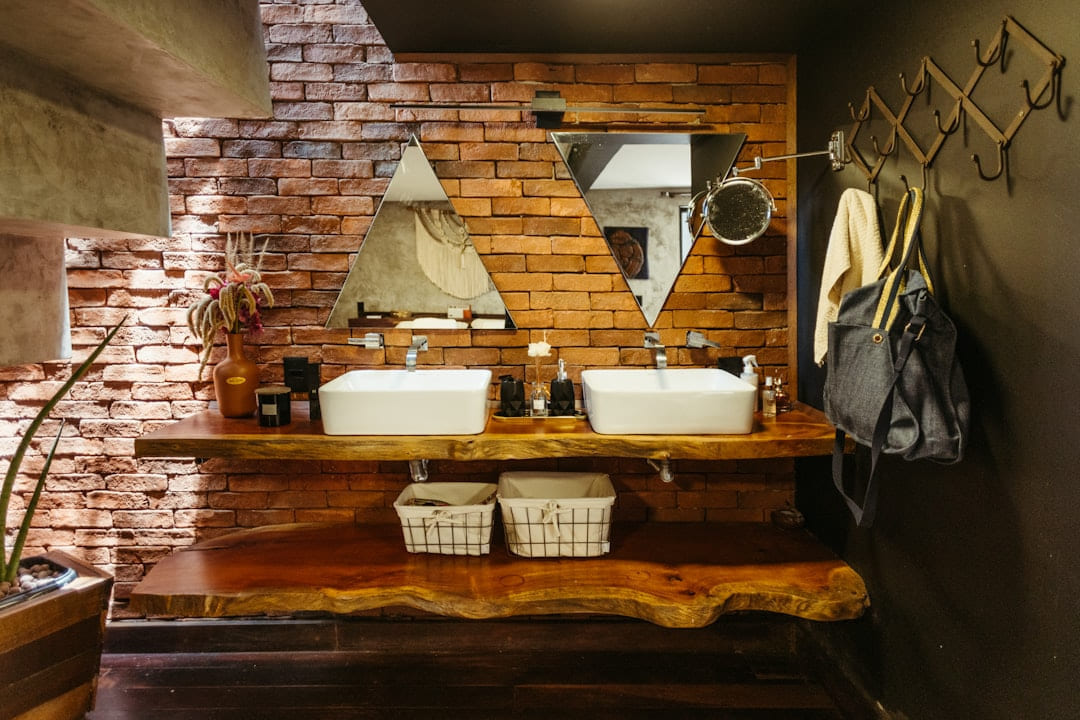
- Vanity: Solid wood vanities are beautiful but require more maintenance. MDF vanities are more affordable and easier to clean, but they’re susceptible to water damage if not properly sealed.
- Flooring: Vinyl plank flooring is a popular and affordable option for bathrooms. It’s waterproof and relatively easy to install.
- Fixtures: Invest in quality fixtures - faucets, showerheads, toilets - to avoid frequent replacements.
4. Skipping Proper Preparation
Proper preparation is the foundation of any successful DIY project. This includes:
- Demolition: Carefully remove the old fixtures and flooring, taking care not to damage surrounding walls or plumbing.
- Surface Preparation: Clean, sand, and prime surfaces before painting or tiling.
- Leveling: Ensure the subfloor is level before installing new flooring.
Example: If you don't properly level the subfloor before installing new tile, you’ll end up with uneven tiles and a professional-looking repair will be required.
5. Not Reading the Instructions
Seriously. It sounds obvious, but it’s a common mistake. Tile, flooring, and even some fixtures come with detailed instructions. Read them thoroughly before you start. Understanding the process will save you time, frustration, and potential errors.
6. Forgetting About Ventilation
Proper ventilation is essential for preventing mold and mildew growth in a bathroom. Ensure your exhaust fan is functioning correctly and consider upgrading it to a more powerful model if necessary. A poorly ventilated bathroom can quickly become a breeding ground for moisture problems.
7. Overlooking Accessibility
Think about your needs now and in the future. Consider features like grab bars, walk-in showers, and wider doorways if you anticipate needing them in the future. Making your bathroom accessible from the start can prevent costly renovations down the road.
8. Rushing the Process
Bathroom upgrades can take time. Don't try to rush the process to finish quickly. Take your time, do the job right, and enjoy the process. A rushed job is often a sloppy job.
Focus on the part that solves the problem
In a topic like Home improvement, the strongest starting point is usually the one you will notice and use right away. That is often more helpful than adding extra features too early.
Before spending more, it is worth checking the setup, upkeep, and learning curve. Small hassles matter here because they are usually what decide whether something stays useful or gets ignored.
It is easy to underestimate how much clarity comes from removing one unnecessary layer. In practice, trimming one complication often does more for Bathroom Upgrade Fumbles: Avoid These Mistakes than adding one more feature, one more product, or one more clever workaround.
Where extra features get in the way
Another easy trap is copying a setup that made sense for someone with a different routine, budget, or tolerance for maintenance. In Home improvement, that mismatch is often what makes a promising idea feel frustrating later.
A lot of options sound great until you picture them in a normal week. If the setup is fussy, the routine is easy to forget, or the maintenance is annoying, the appeal fades quickly.
There is also value in keeping one part of the process deliberately simple. Readers often do better when they identify the one decision that carries the most weight and make that choice carefully before they chase smaller optimizations. That keeps momentum steady and usually prevents the topic from turning into clutter.
What makes the choice hold up
A better approach is to break Bathroom Upgrade Fumbles: Avoid These Mistakes into smaller decisions and solve the highest-friction part first. Testing one practical change usually teaches more than trying to perfect everything in a single pass.
Leave a little room to adjust as you go. A setup that works in one budget range, season, or routine might need a small change later, and that is usually normal rather than a sign you got it wrong.
If this topic still feels crowded or overcomplicated, that is usually a sign to narrow the decision, not a sign that you need more noise. One careful adjustment, followed by honest observation, tends to teach more than another round of abstract tips.
How to keep the routine manageable
A grounded next step is usually better than a dramatic one. Pick one realistic change, see how it works in normal life, and let that result guide the next decision.
The version that holds up best is usually the one you can live with on an ordinary day. That often matters more than the version that only feels good when you have extra time, energy, or money.
That is why the best next step is often a modest one with a clear upside. You want something specific enough to act on, flexible enough to adjust, and practical enough that you would still recommend it after the first burst of enthusiasm fades.
Conclusion
DIY bathroom upgrades can be a rewarding experience, but it’s crucial to approach the project with careful planning and a realistic understanding of the challenges involved. By avoiding these common mistakes, you can increase your chances of a successful and satisfying upgrade - transforming your bathroom into a space you’ll love for years to come. Remember, when in doubt, consult a professional. Your peace of mind and the longevity of your bathroom are worth the investment.
Keep This Practical
The best DIY upgrades are the ones you will still appreciate six months from now. Prioritize the project that improves function first, then let style follow with less guesswork.
Tools Worth A Look
If you are moving from ideas to an actual home project, the products below are the closest practical fit.
- Solar Lights Outdoor, 106 LED 3000LM Solar Powered Motion Sensor Flood Lights with Remote, Dusk to Dawn Led Solar Security Wall Lights with 16.5Ft CableHomeHacks 2 Pack Large Laundry Baskets, Waterproof, Freestanding Laundry Hampers, Collapsible Clothes HamperWall & Baseboard CleanerLaser Level Line Tool, Multipurpose Laser Level Kit Standard Cross Line Laser leveler Beam Tool with Metric Rulers 8ft/2.5M for Picture HangingDurmmur 2 Pack Hat Racks for Baseball Caps, Stainless Steel Hat Organizer
Some of the links on this page are Amazon affiliate links, which means I may earn a small commission if you make a purchase through them. As an Amazon Associate, I earn from qualifying purchases.
Related ReadingMore from Hammer & Home
Refresh Your Bathroom: A Simple Guide
Upgrades Guide Let’s face it - the bathroom is often the room we put off. It’s where we start and end our days, yet it rarely gets the attention it d...
Bathroom Upgrade FAQs: What You Need to Know
: ---------------------------, ----------------. Cosmetic Refresh: $300 - $800. Mid-Range Upgrade: $1,000
Refresh Your Bathroom: Step-by-Step
Upgrades Guide Let’s face it - the bathroom is often the room we put off. It’s where we start and end our days, yet it rarely gets the attention it d...