Hammer & Home: Your Ultimate DIY Bathroom Upgrades Checklist (2026 Edition)
Let’s face it: the bathroom is often the most neglected room in the house. It’s a small space, but it’s a crucial one - a place for personal hygiene, relaxation, and starting (or ending!) your day. A dated or poorly maintained bathroom can drag down the entire feel of your home. But a complete remodel can be a huge investment. Fortunately, a surprising amount of bathroom upgrades can be tackled with a little DIY know-how. This checklist breaks down the most common projects, categorized by difficulty and offering practical tips to help you transform your bathroom without breaking the bank.
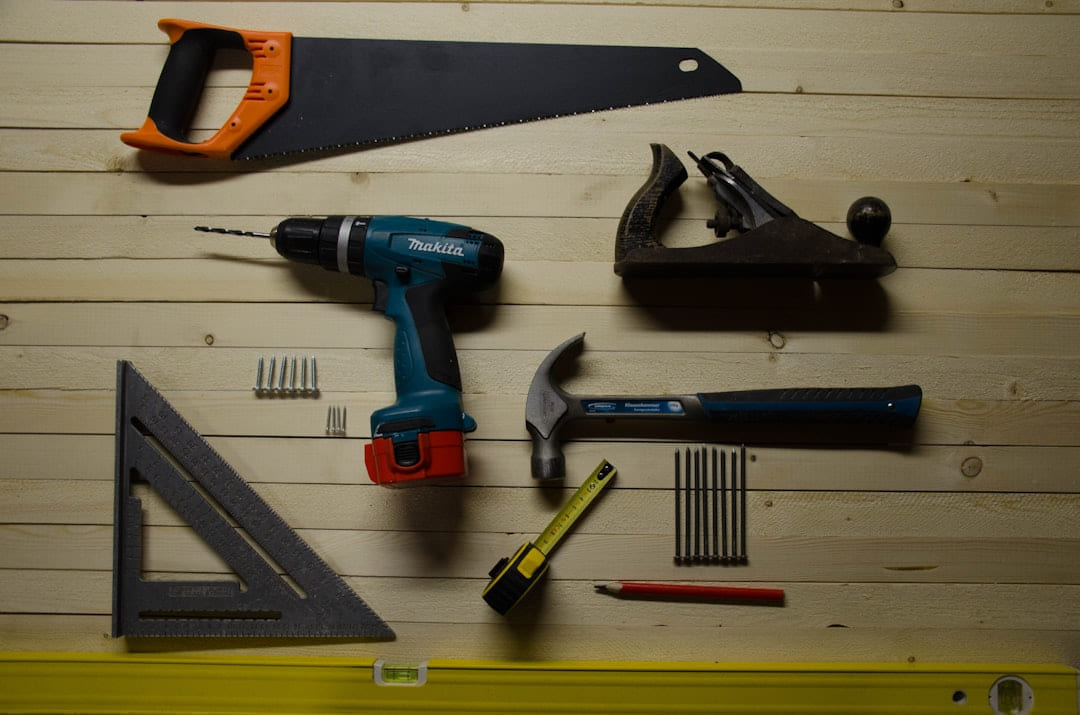
Phase 1: The Easy Wins - Starting Your Project Right
Before you even think about ripping out fixtures, let’s tackle some of the simpler, higher-impact projects. These are great for building confidence and getting a quick win.
- Painting Walls (Medium Difficulty, Easy Time Commitment): This is the absolute easiest way to dramatically change the look of your bathroom. Moisture and humidity are the biggest enemies of paint, so preparation is key.
- What You’ll Need: Painter’s tape, cleaning supplies (TSP cleaner is excellent for removing soap scum), primer (specifically for bathrooms - mold and mildew resistant!), paint (again, bathroom-specific), rollers, brushes, drop cloths.
- The Process: Thoroughly clean the walls. Apply a coat of primer. Let it dry completely. Apply two coats of paint, allowing each coat to dry fully. Don’t forget to tape off trim and fixtures.
- Pro Tip: Choose a paint with a satin or semi-gloss finish - these are more durable and easier to clean in a bathroom.
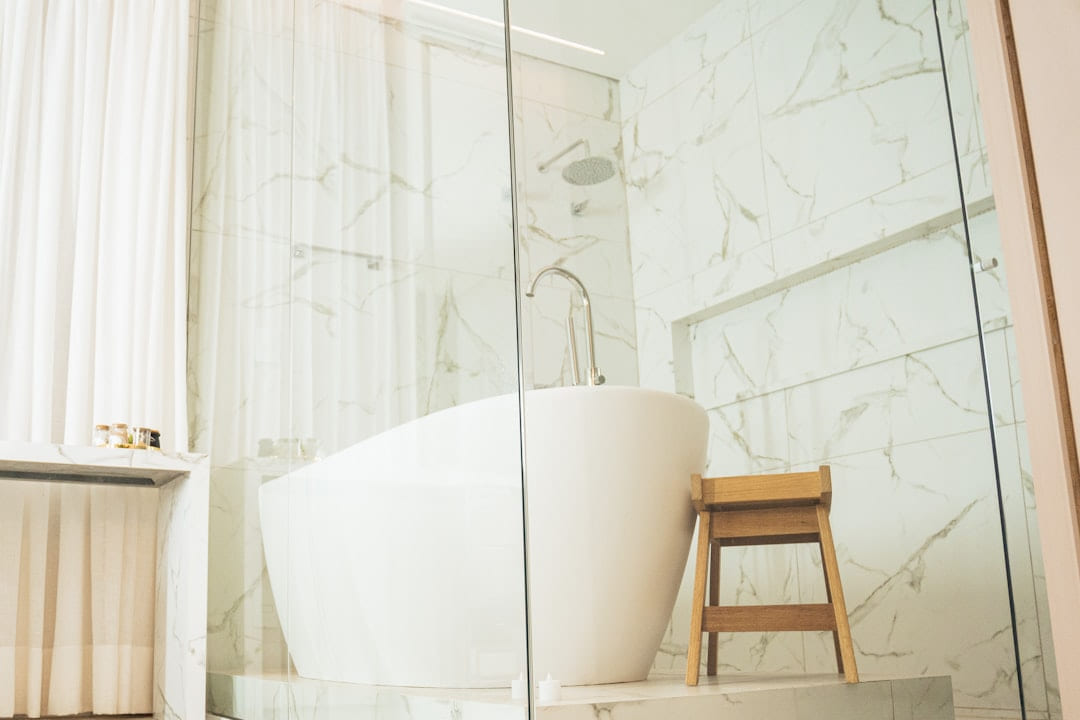
- Replacing the Showerhead (Easy Difficulty, 30-60 Minutes): A new showerhead can instantly upgrade your shower experience.
- What You’ll Need: New showerhead, adjustable wrench, Teflon tape, plumber’s putty (optional).
- The Process: Turn off the water supply to the shower. Remove the old showerhead. Clean the threads on the shower arm. Wrap the threads with Teflon tape. Apply a dab of plumber’s putty to the base of the new showerhead (if included). Screw on the new showerhead, tightening it securely. Turn the water back on and check for leaks.
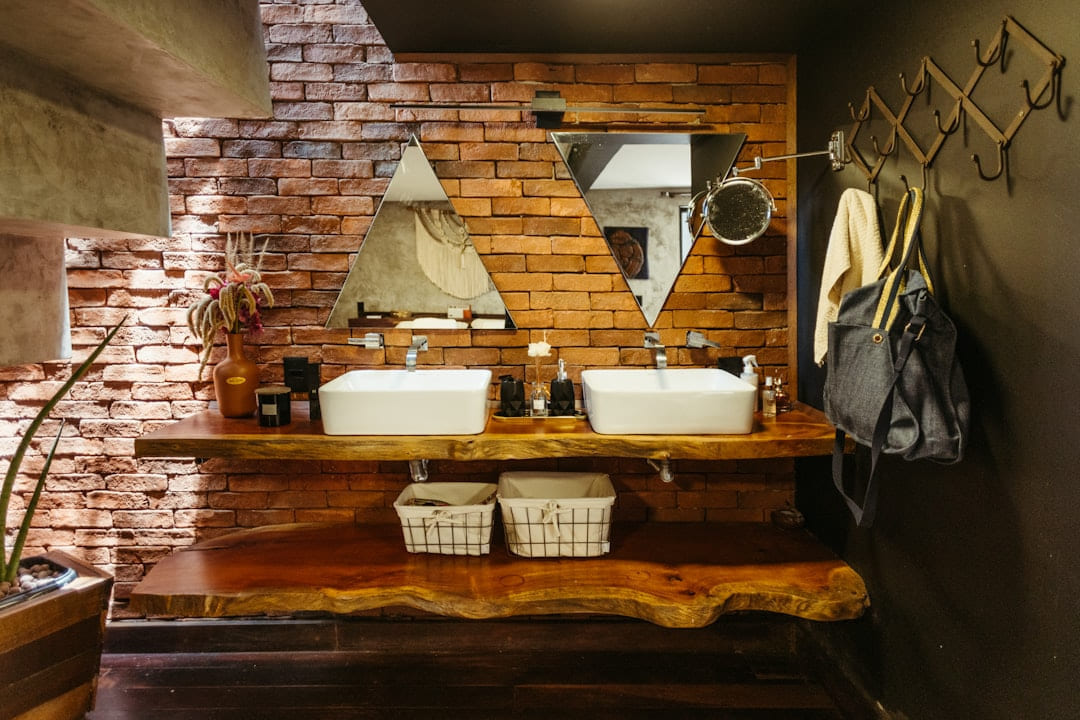
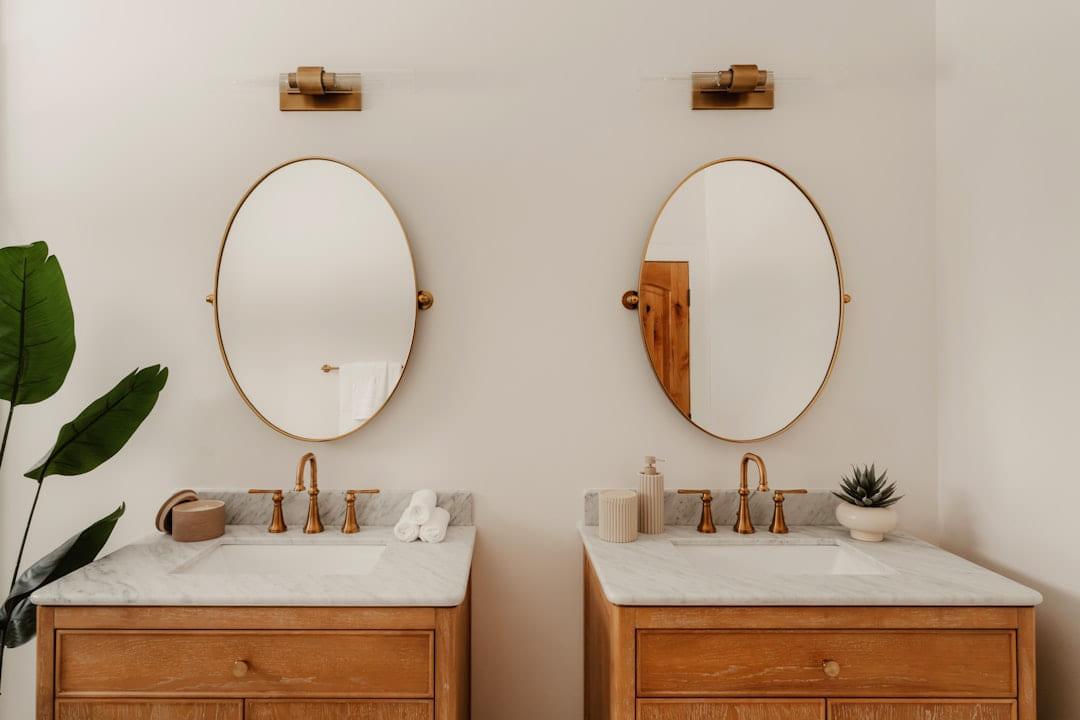
- Adding a New Mirror (Easy Difficulty, 15-30 Minutes): A larger or more stylish mirror can make a bathroom feel bigger and brighter.
- What You’ll Need: New mirror, level, measuring tape, screws, wall anchors (if needed).
- The Process: Measure the existing hole (or the desired location for a new hole). Mark the outline on the wall. Install wall anchors if necessary. Hang the mirror using appropriate screws. Use a level to ensure it’s straight.
- Updating Hardware (Easy Difficulty, 30-60 Minutes): Replacing cabinet knobs, drawer pulls, and towel bars can instantly update the look of your vanity.
Phase 2: Stepping It Up - Medium Difficulty Projects
These projects require a bit more skill and time, but are still manageable for a confident DIYer.
- Replacing the Toilet (High Difficulty, 2-4 Hours): This is a common upgrade, but it’s not for the faint of heart. Dealing with plumbing can be tricky.
- What You’ll Need: New toilet, wax ring, adjustable wrench, plumber’s putty, bucket, gloves.
- The Process: Turn off the water supply. Flush the old toilet. Disconnect the water supply line. Remove the old toilet (it’s heavier than you think!). Install the new wax ring. Place the new toilet on the flange and secure it. Connect the water supply line. Turn the water back on and check for leaks.
- Important Note: Always consult your local plumbing codes before starting this project.
- Installing Tile Backsplash (Medium Difficulty, 6-12 Hours): A tile backsplash adds a touch of style and protects the wall from splashes.
- What You’ll Need: Tile, thin-set mortar, grout, tile spacers, notched trowel, sponge, bucket of water, safety glasses.
- The Process: Prepare the wall surface. Apply thin-set mortar using the notched trowel. Lay the tile, using tile spacers for consistent gaps. Allow the mortar to dry completely. Apply grout. Wipe away excess grout with a sponge. Seal the grout.
- Tip: Start with a small, inconspicuous area to get a feel for the process.
- Replacing the Faucet (Medium Difficulty, 1-2 Hours): Similar to the showerhead, a new faucet can significantly improve the look and functionality of your sink.
- What You’ll Need: New faucet, adjustable wrench, plumber’s tape, basin wrench (helpful for tight spaces).
Phase 3: Tackle with Caution - High Difficulty Projects
These projects are best left to professionals unless you have significant experience with plumbing and electrical work.
- Electrical Work (High Difficulty, Variable Time): Any electrical work should be done by a qualified electrician. This includes replacing outlets, installing new lighting fixtures, or upgrading the wiring. Never attempt electrical work if you’re not comfortable and knowledgeable.
- Safety First: Always turn off the power to the circuit before working on any electrical components.
- Reconfiguring Plumbing (High Difficulty, Variable Time): Moving pipes or changing the layout of your plumbing system is a complex undertaking that requires professional expertise.
Resources for DIY Success
Don’t be afraid to seek help! There are tons of resources available to guide you through your bathroom upgrades:
- YouTube Channels: “This Old House,” “The DIY Life,” and “Essential Craftsman” offer excellent tutorials on a wide range of DIY projects.
- Home Improvement Websites: The Spruce, Family Handyman, and DIY Network provide detailed instructions and helpful tips.
- Local Hardware Stores: Ask for advice from the experts at your local hardware store.
Conclusion - You’ve Got This!
Transforming your bathroom doesn't have to be a daunting task. By breaking down the project into manageable steps, prioritizing safety, and utilizing available resources, you can create a beautiful and functional space that you'll love. A little planning, a healthy dose of caution, and a willingness to learn will go a long way. Don’t be afraid to tackle a few smaller projects at a time. Even small changes - replacing the showerhead, adding a new mirror, or painting the walls - can make a big difference in the overall look and feel of your bathroom. You can transform your bathroom without a massive renovation. Now, take a deep breath, start planning, and get ready to create the bathroom of your dreams.
Keep This Practical
The best DIY upgrades are the ones you will still appreciate six months from now. Prioritize the project that improves function first, then let style follow with less guesswork.
Tools Worth A Look
If you are moving from ideas to an actual home project, the products below are the closest practical fit.
- Solar Fence Lights Outdoor - 2700/4000/6000K 3 Mode, 8 Pack Solar Fence LightsTESSAN Surge Protector Power Strip, 5 Ft Flat Plug Extension Cord with 3 USB (1 USB C) 8 Outlets, 1250W, 900J ProtectionPull-Out Storage Organizers, Under Sink Organizer and StorageTuffenough Solar Outdoor Lights 2500LM 210 LED Security Lights with Remote Control,3 Heads Motion Sensor Lights, IP65 Waterproof,270° Wide AngleHOTO Electric Screwdriver Kit, Upgraded 1/4'' Hex 25 Bits, Magnetic Lid, Rechargeable
Some of the links on this page are Amazon affiliate links, which means I may earn a small commission if you make a purchase through them. As an Amazon Associate, I earn from qualifying purchases.
Related ReadingMore from Hammer & Home
Refresh Your Bathroom: A Simple Guide
Upgrades Guide Let’s face it - the bathroom is often the room we put off. It’s where we start and end our days, yet it rarely gets the attention it d...
Bathroom Upgrade FAQs: What You Need to Know
: ---------------------------, ----------------. Cosmetic Refresh: $300 - $800. Mid-Range Upgrade: $1,000
Refresh Your Bathroom: Step-by-Step
Upgrades Guide Let’s face it - the bathroom is often the room we put off. It’s where we start and end our days, yet it rarely gets the attention it d...